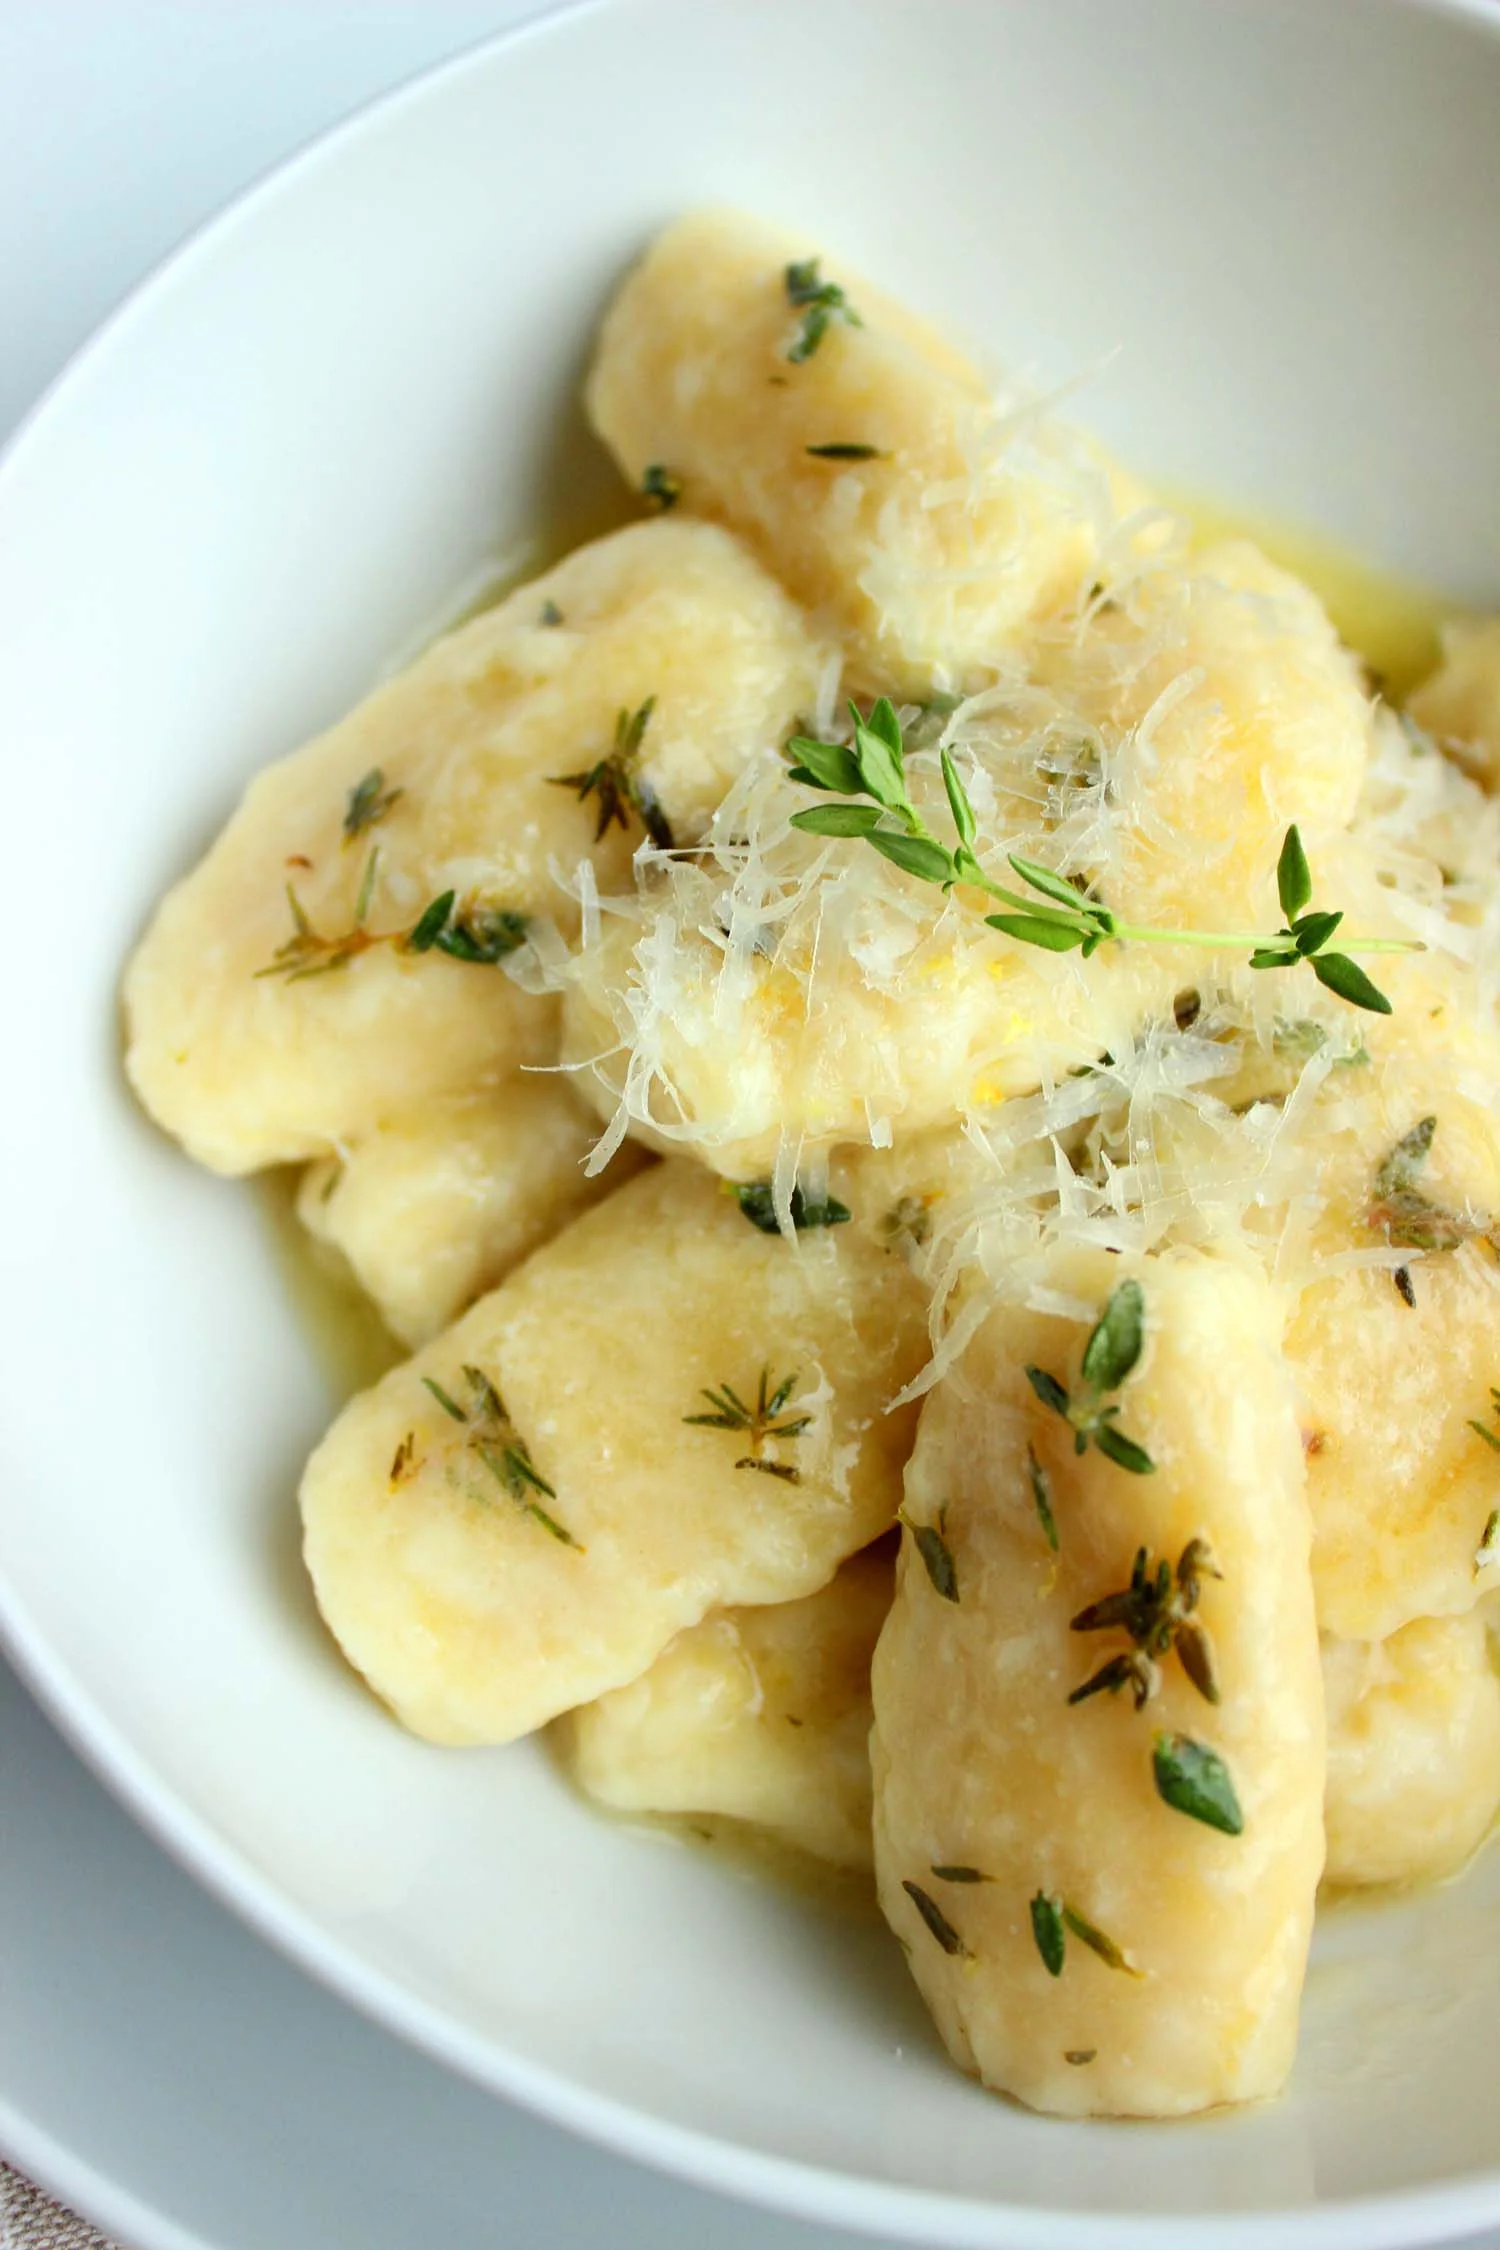
Avocado and Grapefruit Salad

Avocado and Grapefruit Salad | Image: Laura Messersmith
Each week I follow along with Ina Garten (aka the Barefoot Contessa) and attempt to recreate one of her dishes in my tiny New York City kitchen. The catch? This is my version of cooking school and I’m making these recipes for the first time. I’ll share both my successes and um, challenges, along the way and we’ll see if I can keep up with the Contessa!
Episode: “Blueprint Lunch”
The Set-up: Ina is making lunch for the team working on her barn construction project.
The Menu: Avocado and Grapefruit Salad, California Iced Tea, Easy Lobster Paella, Shortbread Hammer Place cards
0:33 – I’ve decided to keep track of how many construction puns Ina uses, so far Blueprint Joke Count: 2.
1:12 – First up Shortbread Hammer Place cards. The name says it all – the cookies will be shaped like the tool and Ina will write each person’s name on a cookie.
2:28 – Ina says she loves to make shortbread dough all different ways. I need to work on establishing my go-to basic cookie dough; perhaps this is the one?
3:46 – Miguel is doing the table setting for the lunch party, so you know this is serious business. So far he’s made a table out of sawhorses, covered in painter’s drop cloth, and has copied the plans for the barn onto placemats. #crafty
4:05 – Ina’s back inside to make California Iced Tea, a combination of black tea and lemonade. I’ve only ever heard this called an Arnold Palmer, but maybe it’s tough to get that name cleared for TV.
5:20 – Note to self: add superfine sugar to the pantry of sugar options.
6:38 – California Iced Tea is in the fridge to chill before the lunch party and now it’s onto cutting out the place card cookies.
9:14 – Ina has chilled the shortbread dough for 30 minutes to allow it to relax and let the butter firm-up a little. I’ve also heard that it gives the flour time to absorb more of the moisture in the rest of the ingredients. No idea if that’s true.
10:27 – The cookies will bake on parchment paper and can I just say that parchment paper has been a total game-changer for me? I pretty much never put a baking sheet in the oven any more unless it has a parchment liner.
11:36 – Quick glance outside to see that Miguel is engaged in some sort of craft project before Ina gets started on the Easy Lobster Paella.
12:19 – The trick to making this paella easy is two-fold: 1. Do most of the cooking in the oven. 2. Use proteins that are already cooked, ie. lobster, kielbasa, so you don’t have to worry about varied cooking times/methods.
13:44 – Other advantages of this dish: you can sub other ingredients that are less expensive than lobster – personally I’d go for shrimp anyway – it doesn’t have to be served as soon as it’s done cooking, and it can be made in large quantities for a crowd.
14:53 – The rice (basmati if you’re wondering) and chicken stock are in the pot, now all into the oven lid on for 15 minutes.
18:32 – Quick stir, then lid off in the oven for an additional 15 minutes to allow some of the stock to evaporate. I am so curious to see how this turns out….
19:26 – Over to the Shortbread Hammer Place cards so that Ina can make icing to pipe the names on to the cookies.
20:45 – Piping now seems slightly less intimidating after my adventure with Woodland Gingerbread Cookies.
21:10 – Back outside to deliver the placecards and discover that Miguel’s craft project was a mobile of fabric swatches to hang from the pergola.
22:37 – To balance out the rich flavors in the paella Ina is pairing it with an Avocado and Grapefruit Salad.
23:21 – I’m with Ina, 90% of the avocados in supermarkets are too green to eat, which requires a little advanced planning to buy them, let them ripen, and then use them. 2-3 days is about right and then they start to go bad. #shortwindowofopportunity
24:48 – Salad is complete, and once again I have to hand it to Ina for transforming a super simple dish into something elegant.
27:00 – Love you Ina, but you just changed your pronunciation from British “pie-ella” to the Spanish “pi-ehya” and I can’t let that go un-remarked upon.
28:34 – Final touches to the paella: Pernod, diced cooked lobster and kielbasa, along with frozen peas all brought up to temperature. Yum.
29:55 – Lunch is served and Ina grills the team on how long until her barn will be finished. The answer: a lot sooner if we stop having these leisurely lunches. Umm, wrong answer if you want any more of Ina’s cooking!
Final Thoughts:
I am horrendous at cooking rice – it always turns out mushy. New Year’s Resolution 2016?
If someone could invent a device to accurately predict when an avocado will be ready to eat they’d have my sincere appreciation and I would absolutely buy one.
How does Ina manage to make a themed party seem so elegant and chic?

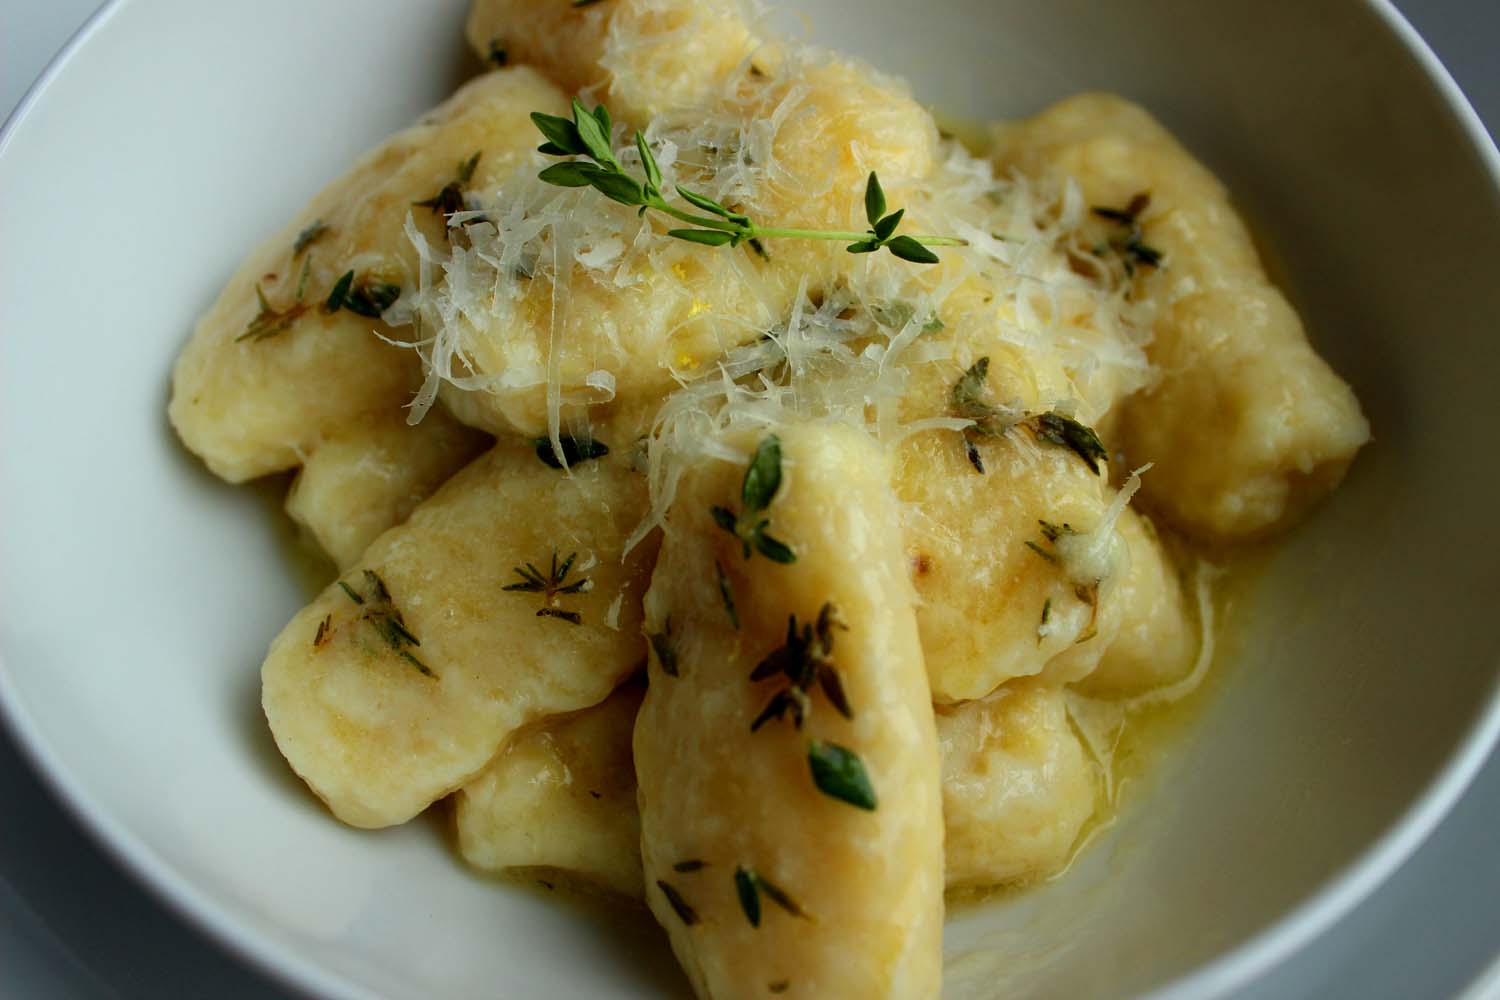
Avocado and Grapefruit Salad | Image: Laura Messersmith
Lessons Learned:
I decided to make the Avocado and Grapefruit Salad, not because it’s particularly difficult, but because I reeeeally needed something summery and light to break up the monotony of winter, even the snow-free one we’re ‘enjoying’ here in New York. Here's what I learned through repetition:
Avocado Selection – I buy Haas avocados, which are a bit smaller than the brighter green Florida avocados and in my area are almost always sold under ripe in the store. I look for two signs when buying and make a call based on when I want to eat the avocado. 1. The color of the skin changes from dark green to a deeper greenish brown as the fruit ripens. I look for an evenly browned, but not blackened or shriveled skin. 2. The texture of an unripe avocado will be very hard and unyielding. I press very gently near the stem end and if it gives way a bit then I know it’s ripe and will be ready to eat within a day or two.
Citrus Segmenting/Supremeing – This is an excellent recipe to practice your supreming technique, a skill that will serve you well whenever citrus is involved. I recommend a 3-4” utility or paring knife, something easy to maneuver that you have firm control over.
Step 1: Cut a narrow slice off the top (stem end) and bottom of the grapefruit to reveal the interior of the fruit and create two flat sides.
Step 2: Place one flat side on the cutting board and slice vertically down the sides following the curve of the fruit to removing the grapefruit zest and pith in long strips. Do your best to leave as much of the flesh as possible.
Step 3: Trim off any remaining bits of pith from the grapefruit so that you can clearly see where the membranes divide the fruit into segments.
Step 4: Hold the grapefruit in one hand over a bowl and carefully cut vertically along both sides of each segment using the membranes as your guidelines until you reach the center of the grapefruit. The segments once released from the membranes will fall into the bowl.
Want a live demo? Here’s a video via Real Simple.

Avocado and Grapefruit Salad | Image: Laura Messersmith
Small Kitchen Friendly?
Absolutely. A medium cutting board, utility knife, liquid measuring cup, measuring spoons and a medium bowl or serving platter are all you need. C’est tout.
The Verdict:
This Avocado and Grapefruit Salad is incredible, mainly because these two ingredients are a match made in heaven. Creamy, rich, dense avocado was meant to hang out with bright, acidic, tender grapefruit. I went with pink grapefruit for it's slightly sweeter flavor and preppy color, but white grapefruit would work just as well. Yes, you could just eat these ingredients side by side, but the simple vinaigrette makes this feel more intentional and less like an afterthought. I served this salad along with Ina’s Panko Crusted Salmon (more on that next week) over baby kale leaves and it’s an excellent combination that makes healthy taste delicious and those eat-better-in-2016 resolutions feel attainable.

Avocado and Grapefruit Salad | Image: Laura Messersmith