Strawberry Rhubarb Hand Pies
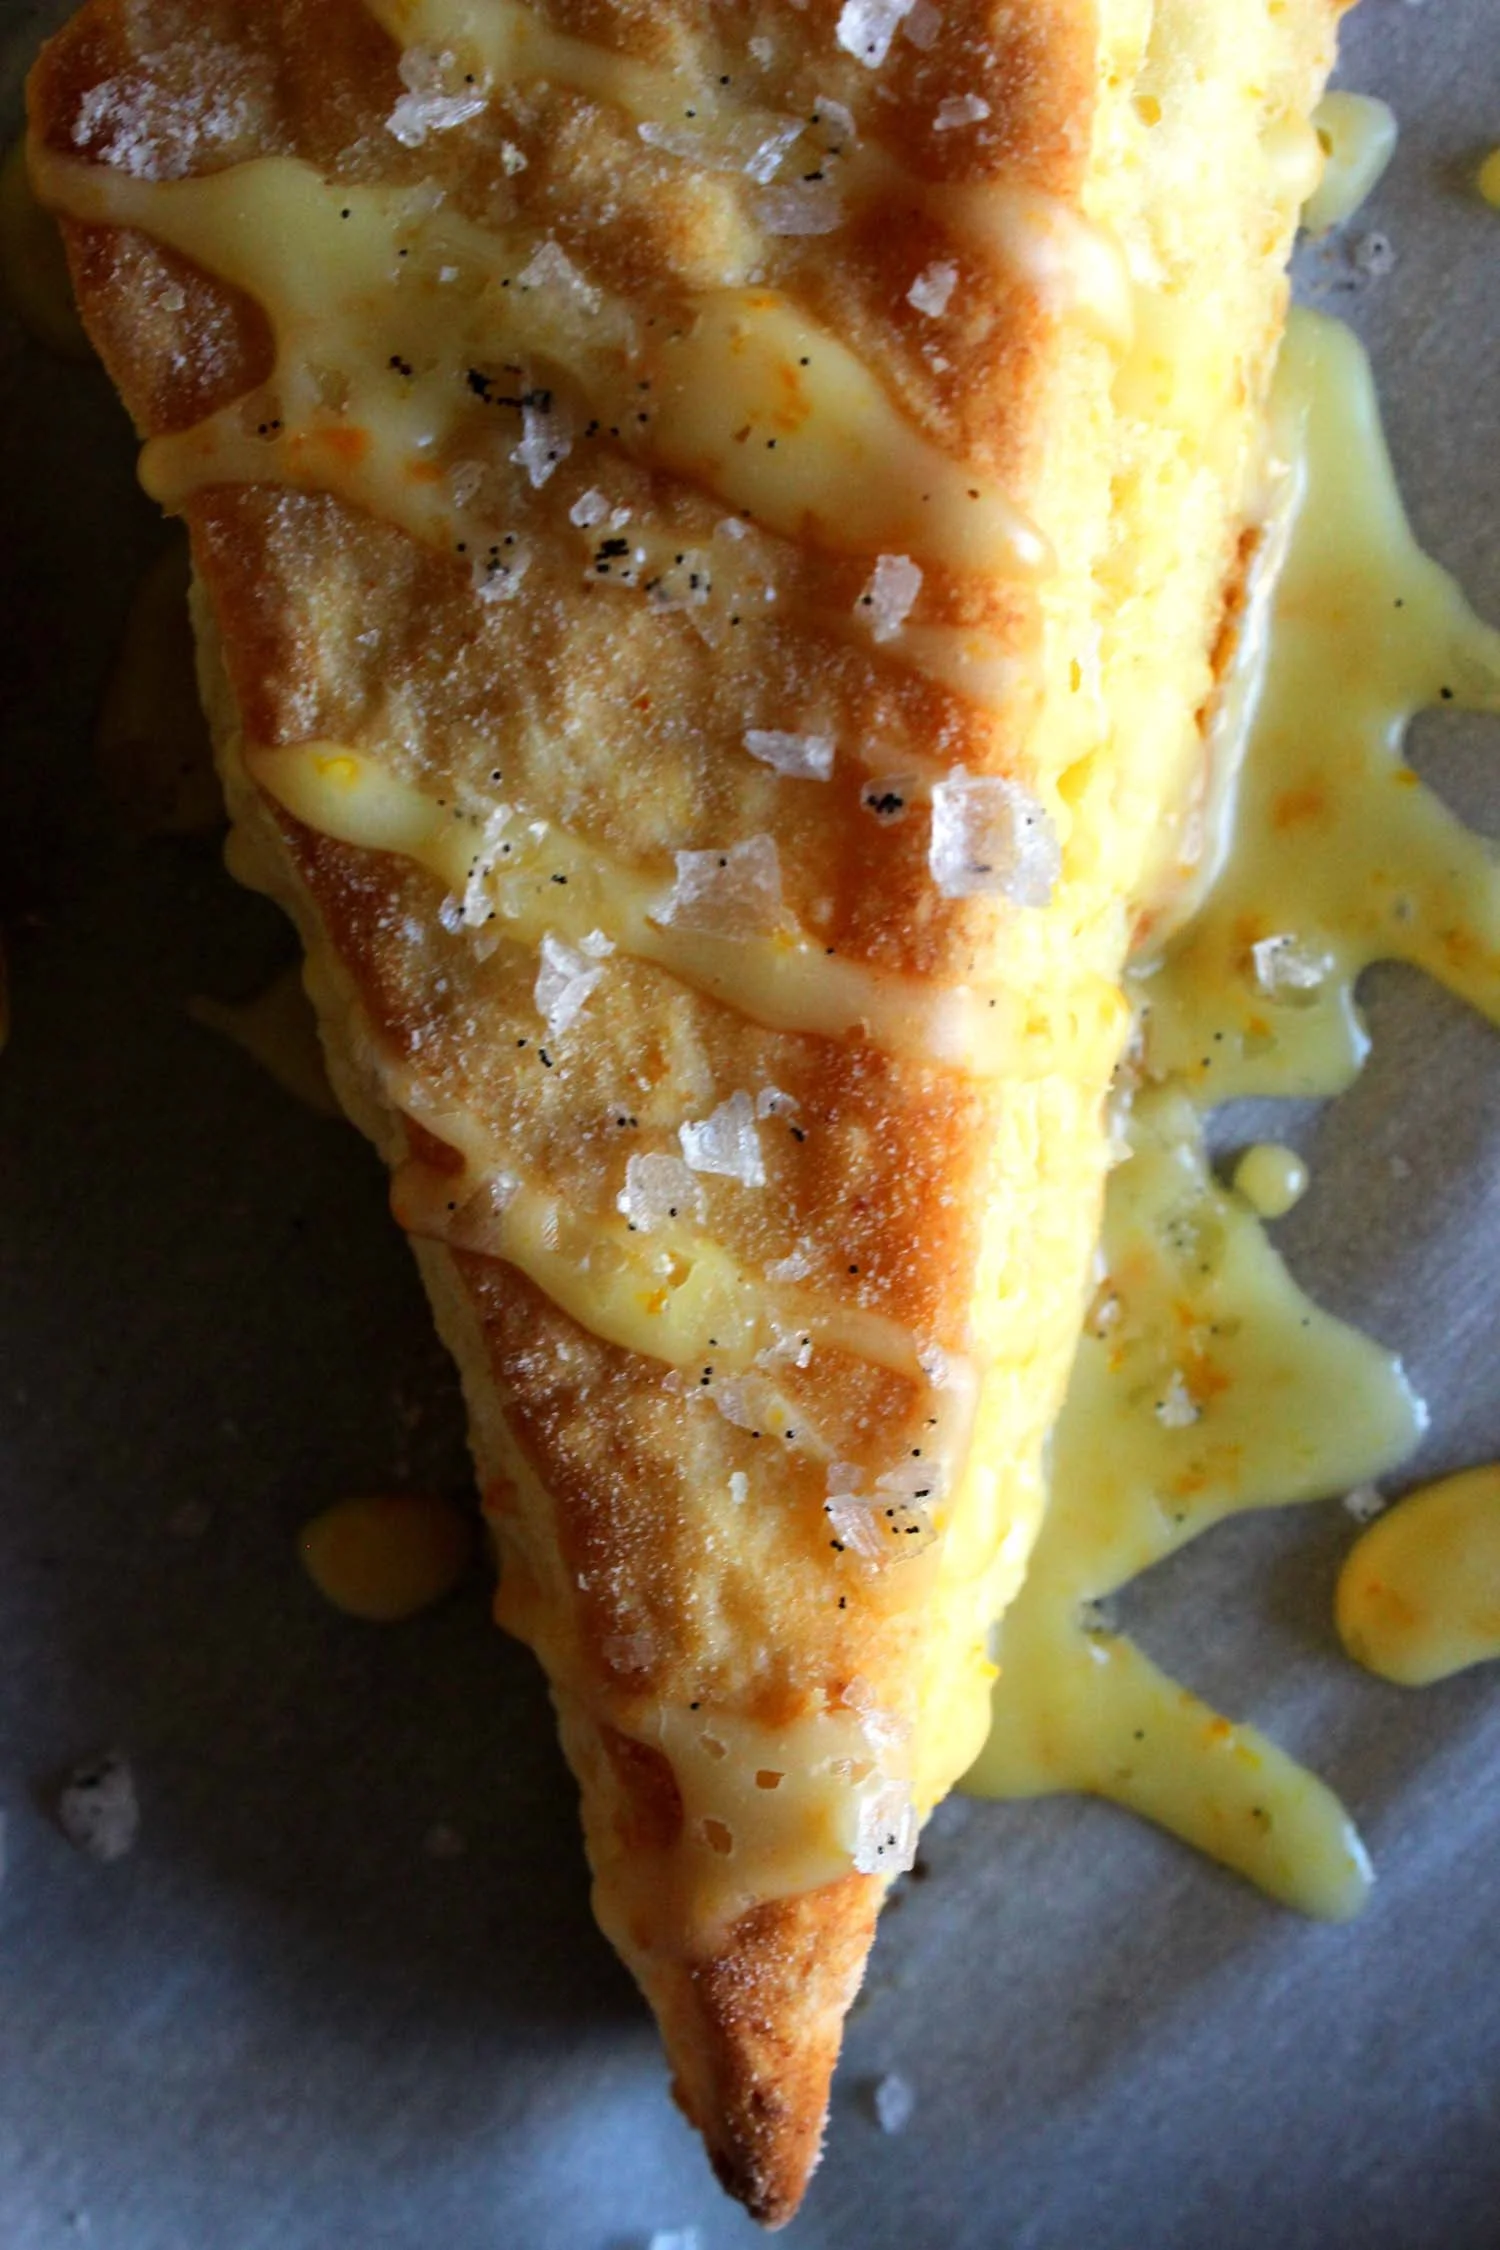
Strawberry Rhubarb Hand Pies | Image: Laura Messersmith
It should come as no surprise that I’m pretty obsessed with pie – both the making of pie (and all the adventures that ensue) and of course the eating of pie (the best part.) As peak summer produce season draws closer and closer I’ve been dog-earring my copy of Four and Twenty Blackbird’s and plotting my next pie adventure like a cartoon villain. Not a terribly villainous villain, unless bringing dessert wherever I go in the name of “sharing” is considered wicked. I tried the sisters Elsen’s pie crust recipe this time around – the use of cider vinegar was intriguing – and since I’ve always been a fan of all-butter pie crusts this one is my new go-to.
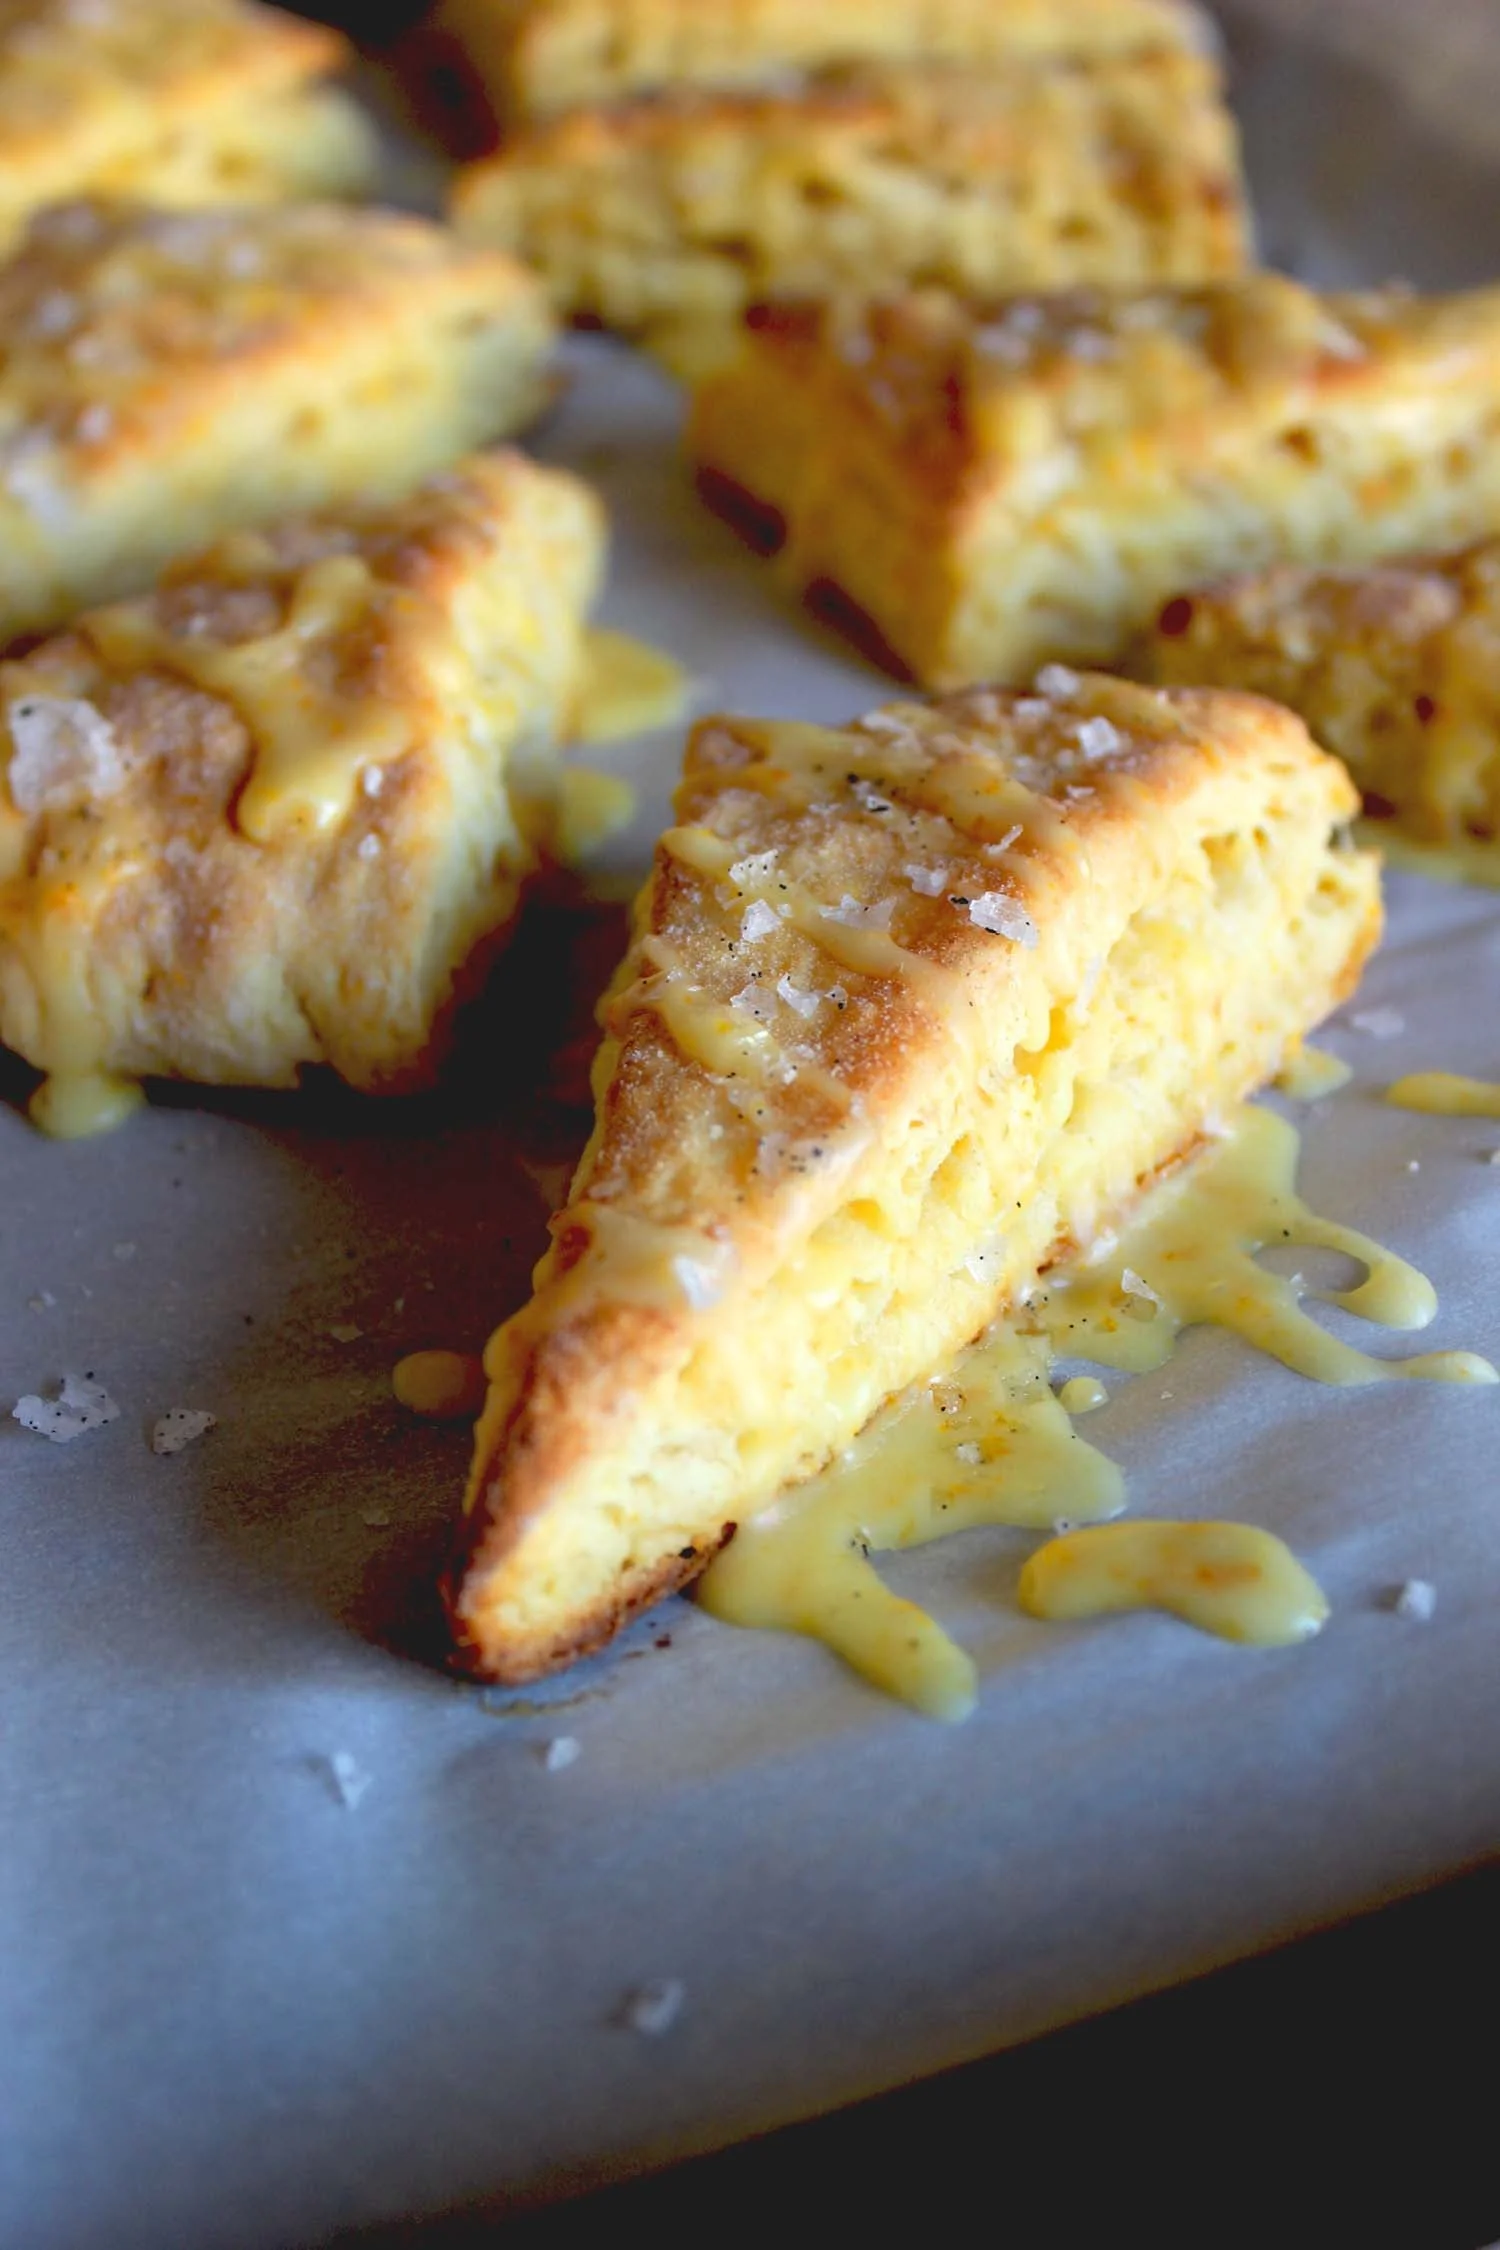
The filling recipe by Chef Hugh Acheson, my favorite Top Chef guest judge, combines strawberry and rhubarb with just a hint of spice from the black pepper. Strawberry and rhubarb come into season around the same time and are a classic example of “what grows together goes together.” A perfect blend of sweet and tangy all in a portable, buttery package. These hand pies are made to be shared; preferably while picnicking on a sunny day in the park.

Strawberry Rhubarb Hand Pies | Image: Laura Messersmith
Strawberry Rhubarb Hand Pies (yield 16 pies)
All-Butter Crust Ingredients:
2 1/2 cups unbleached all-purpose flour
1 teaspoon kosher salt
1 tablespoon granulated sugar
1/2 pound (2 sticks) cold unsalted butter, cut into 1/2-inch pieces
1 cup cold water
1/4 cup cider vinegar
1 cup ice cubes
Crust Instructions:
Mix the flour, salt, and sugar together in a large bowl. Add the diced butter pieces and toss lightly to coat with the flour mixture. With a pastry blender, cut the butter into the flour mixture, working quickly until mostly pea-size pieces of butter remain. Take care not to over blend.
In a large measuring cup, combine the water, cider vinegar, and ice. Sprinkle 2 tablespoons of the ice water mixture over the butter and flour, and blend with a rubber spatula until it is fully incorporated.
Continue adding more of the ice water mixture, 1 to 2 tablespoons at a time, using the spatula or your hands (or both) to mix until the dough just comes together in a ball, with some dry bits remaining.
Squeeze and pinch with your fingertips to bring all the dough together, sprinkling dry bits with more small drops of the ice water mixture, if necessary, to combine. Discard any remaining ice water mixture.
Shape the dough into a flat disc, wrap in plastic, and refrigerate for at least 1 hour, preferably overnight, to give the flour time to absorb the moisture and relax. Wrapped tightly, the dough can be refrigerated for 3 days or frozen for 1 month.
Filling Ingredients:
1 tablespoon unsalted butter
7 ounces strawberries, hulled and roughly chopped
5 ounces rhubarb, peeled and roughly chopped
3 tablespoons sugar
1⁄2 tablespoon white wine vinegar
1⁄4 teaspoon freshly ground black pepper
1⁄4 teaspoon lemon juice
1 pinch kosher salt
1 egg
2 tablespoons sugar in the raw
Filling Instructions:
In a medium saucepan, melt the butter over medium heat. Add the strawberries and rhubarb and cook until soft and jam-like, 6–8 minutes. Stir in sugar, vinegar, pepper, lemon juice, and salt; cook 3 minutes more until the mixture thickens. Cool to room temperature, then cover and chill at least 30 minutes before using.
Assemble and bake the pies: On a lightly floured surface, roll dough 1⁄4 inch thick and use a large, round biscuit cutter to cut out 14 rounds. Gather the scraps and re-roll to create the final 2 rounds.
Lay the disks of dough out on parchment paper-lined baking sheets. Place 2 tablespoons filling in center of each disk of dough. Whisk the egg in a bowl, brush edges of the dough with the egg wash and fold in half over the filling. Press the edges together and crimp with a fork to seal. Chill 20 minutes.
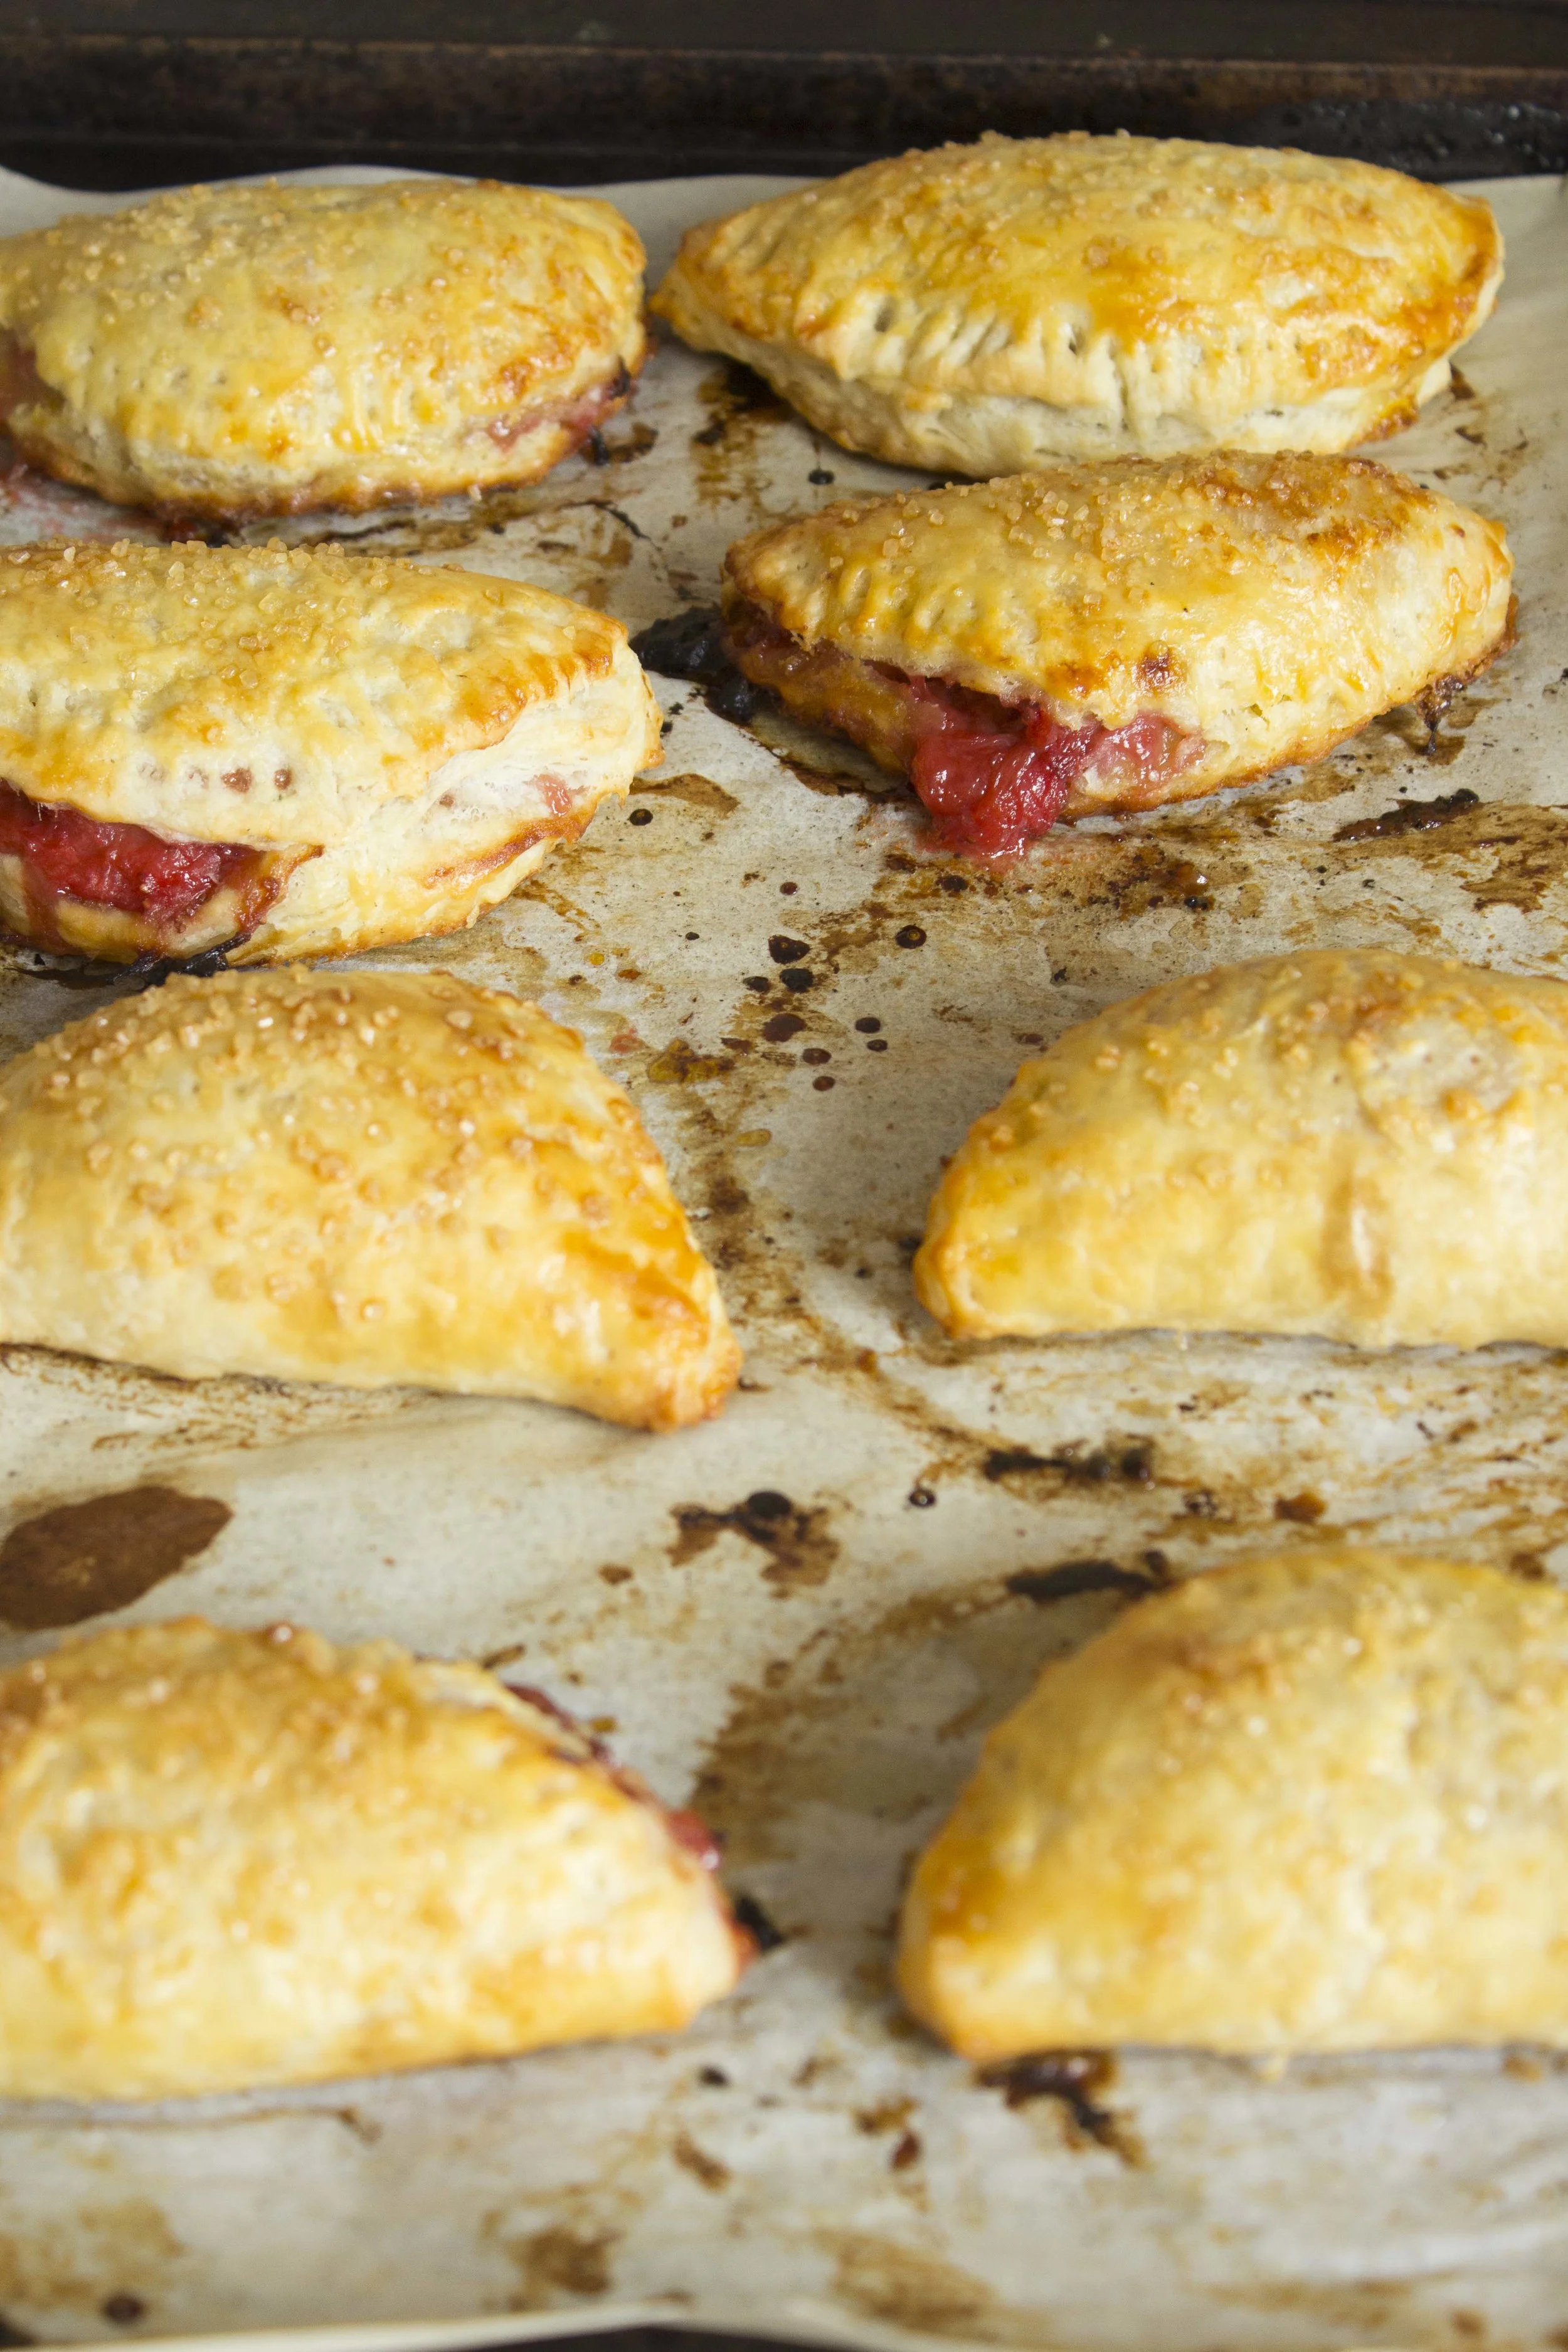
Heat oven to 400 degrees F. Using a fork, prick tops of pies; brush tops with the remaining beaten egg and sprinkle with coarse sugar. Bake pies until golden, about 20 minutes; let cool slightly before serving.
Re-written and very lightly adapted from All Butter Pie Crust by Four and Twenty Blackbirds (pg. 207) and Strawberry Rhubarb Hand Pies by Chef Hugh Acheson via Saveur.

Strawberry Rhubarb Hand Pies | Image: Laura Messersmith
Small Kitchen Friendly?
Surprisingly, yes! I used a large mixing bowl, 2 quart sauce pan, 2 rimmed baking sheets, pastry cutter, rubber spatula, rolling pin, 4 inch fluted biscuit cutter, 2 tablespoon cookie scoop, pastry brush, dry and liquid measuring cups and spoons, and parchment paper.

Strawberry Rhubarb Hand Pies | Image: Laura Messersmith