Double Chocolate Zucchini Bread
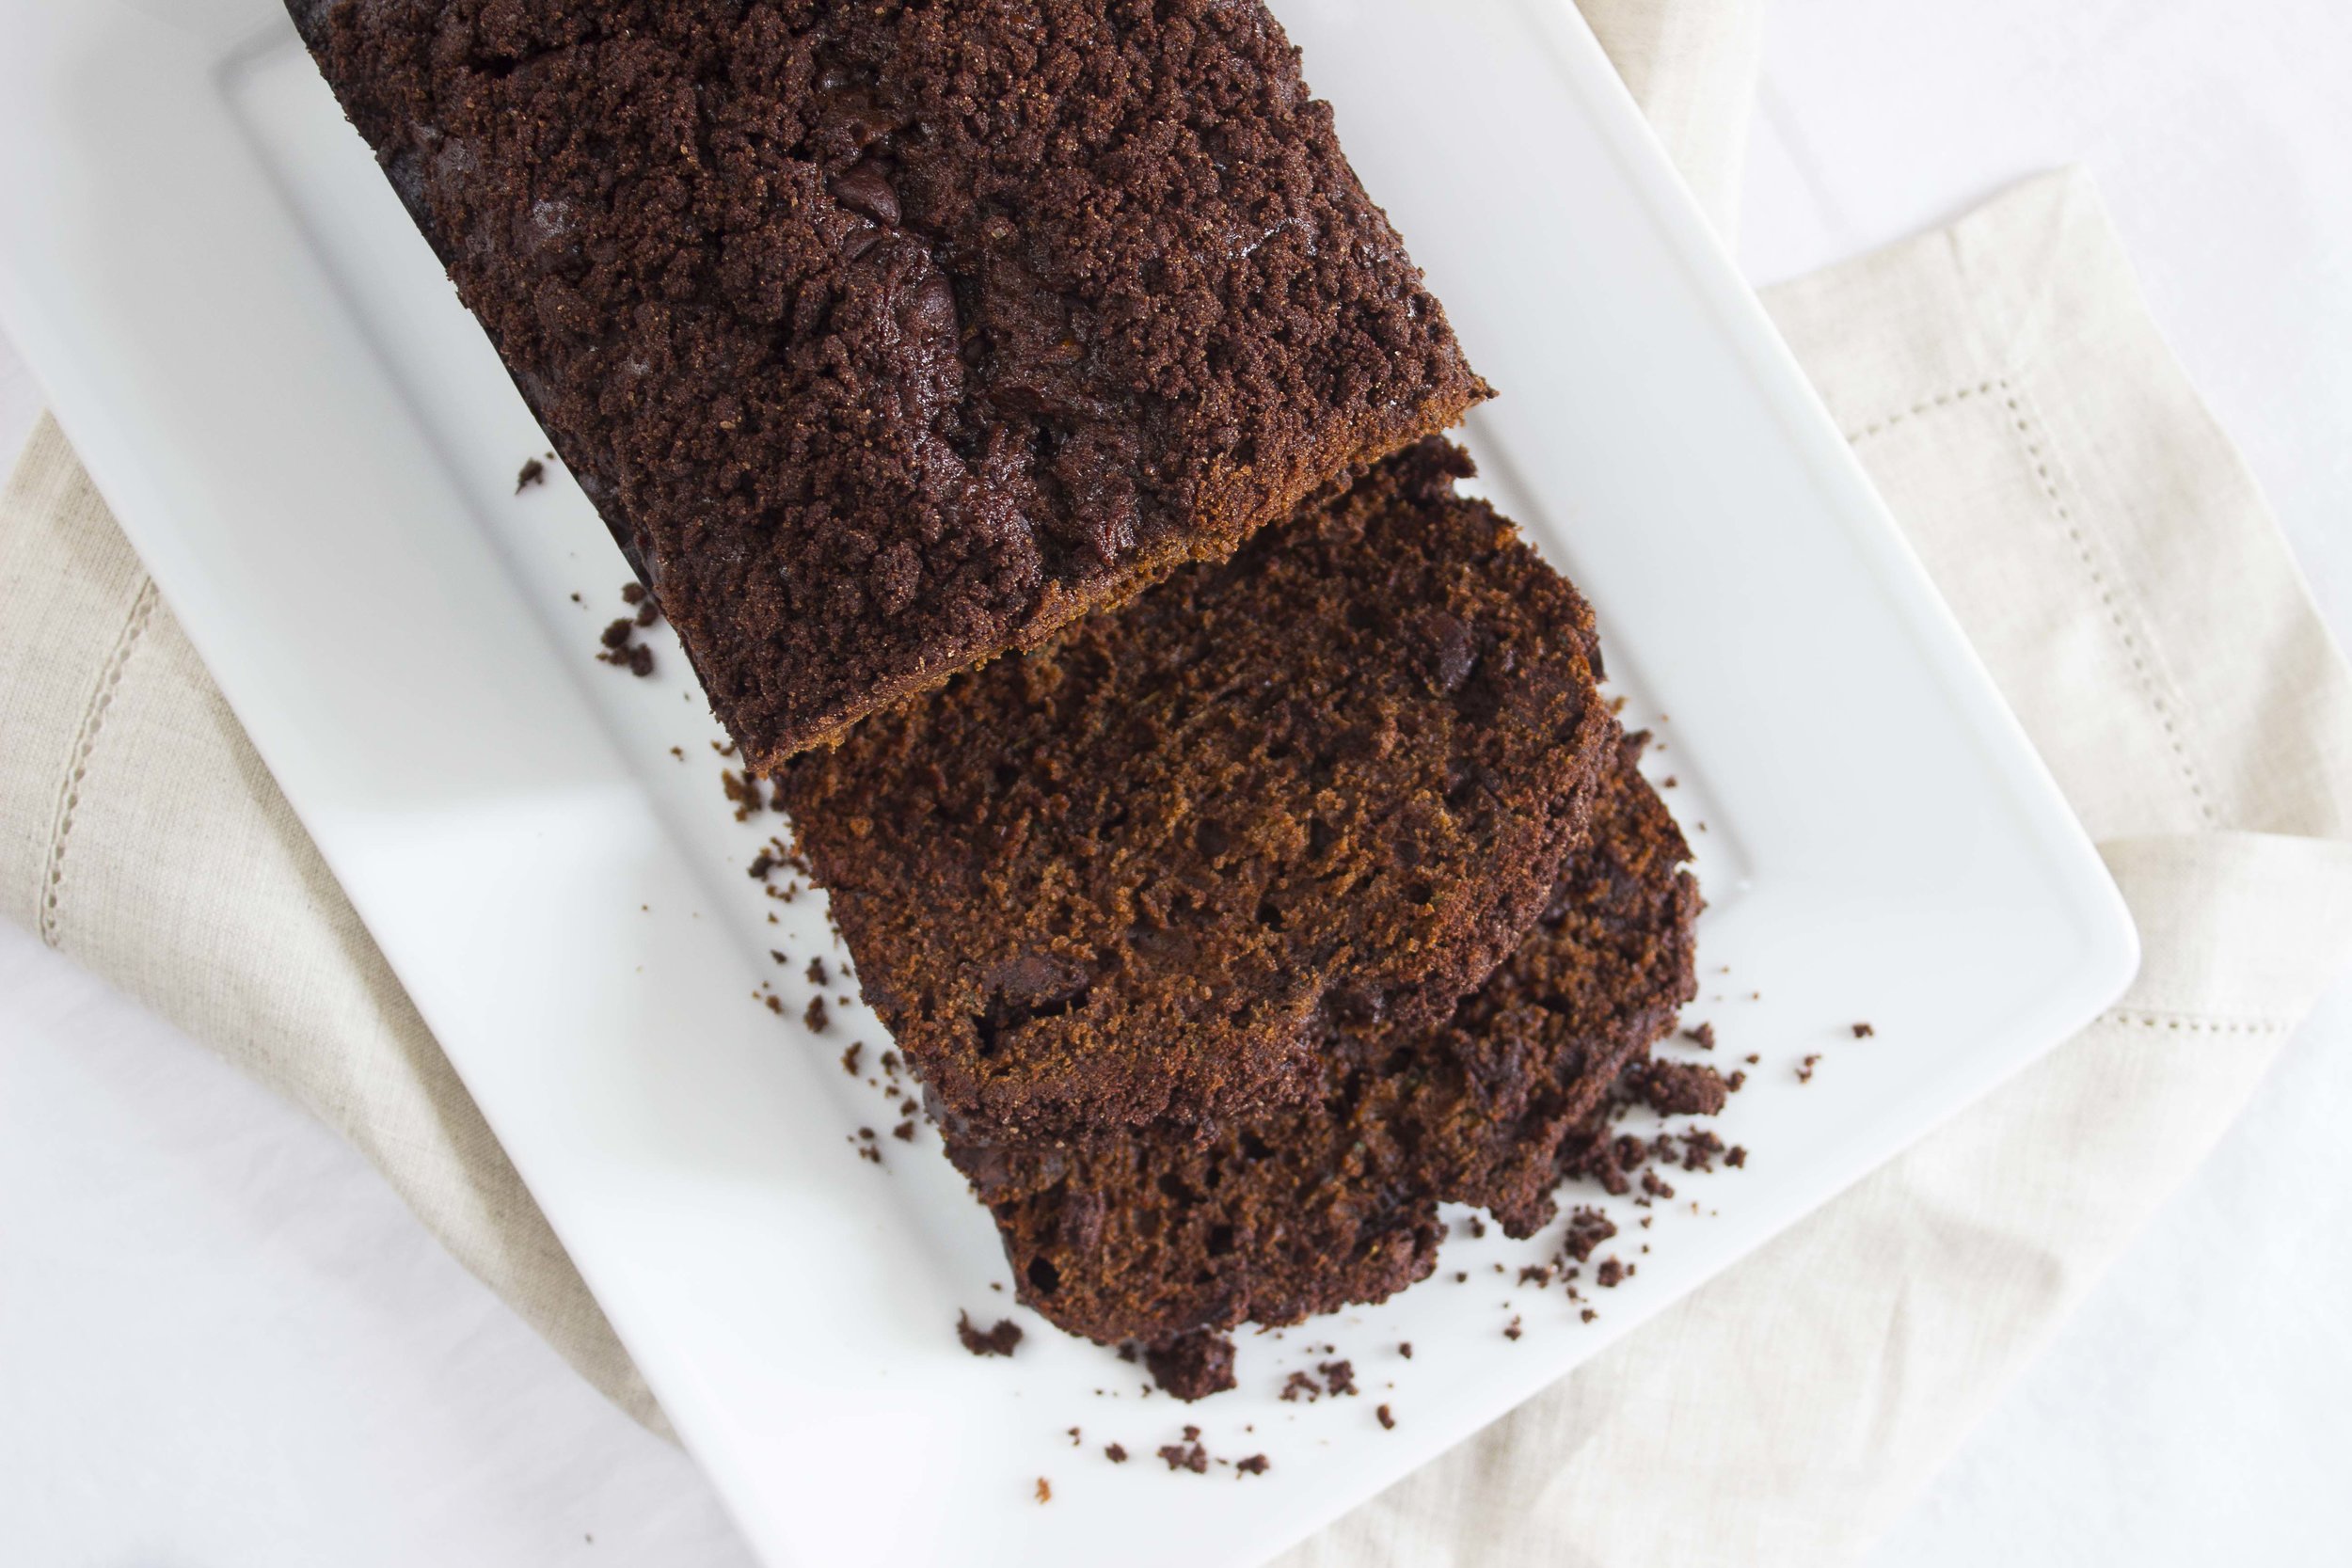
Double Chocolate Zucchini Bread | Image: Laura Messersmith
Earlier this summer (it’s still summer right?) we traveled out to Colorado to visit my brother, sister-in-law and new baby nephew (!!) Mike and I both love breakfast, so while we were in Denver we had to check out the local coffee shops and cafes, and boy they did not disappoint! We discovered Lula Rose General Store when a long line and a fortuitous parking spot conspired to deposit us on the shop’s doorstep. There’s a reason Eater included Lula Rose on their Ultimate Guide to Denver's Best Coffee Shops. Revived by their awesome cold brew and a slice of fantastic Double Chocolate Zucchini Bread I was ready to tackle the day.
I was also reminded A. that zucchini bread exists. Honestly I can’t remember when I last had some let alone made any…? And B. that any and all quick breads involving a vegetable or fruit are vastly improved with the addition of chocolate and preferably also chocolate chips. Tell me I’m wrong.
I’ve pretty much been chasing the dream of that bread ever since and now that it’s prime zucchini surplus season I think we’ve all earned the right to consume it in dessert form. Your CSA box will thank me.

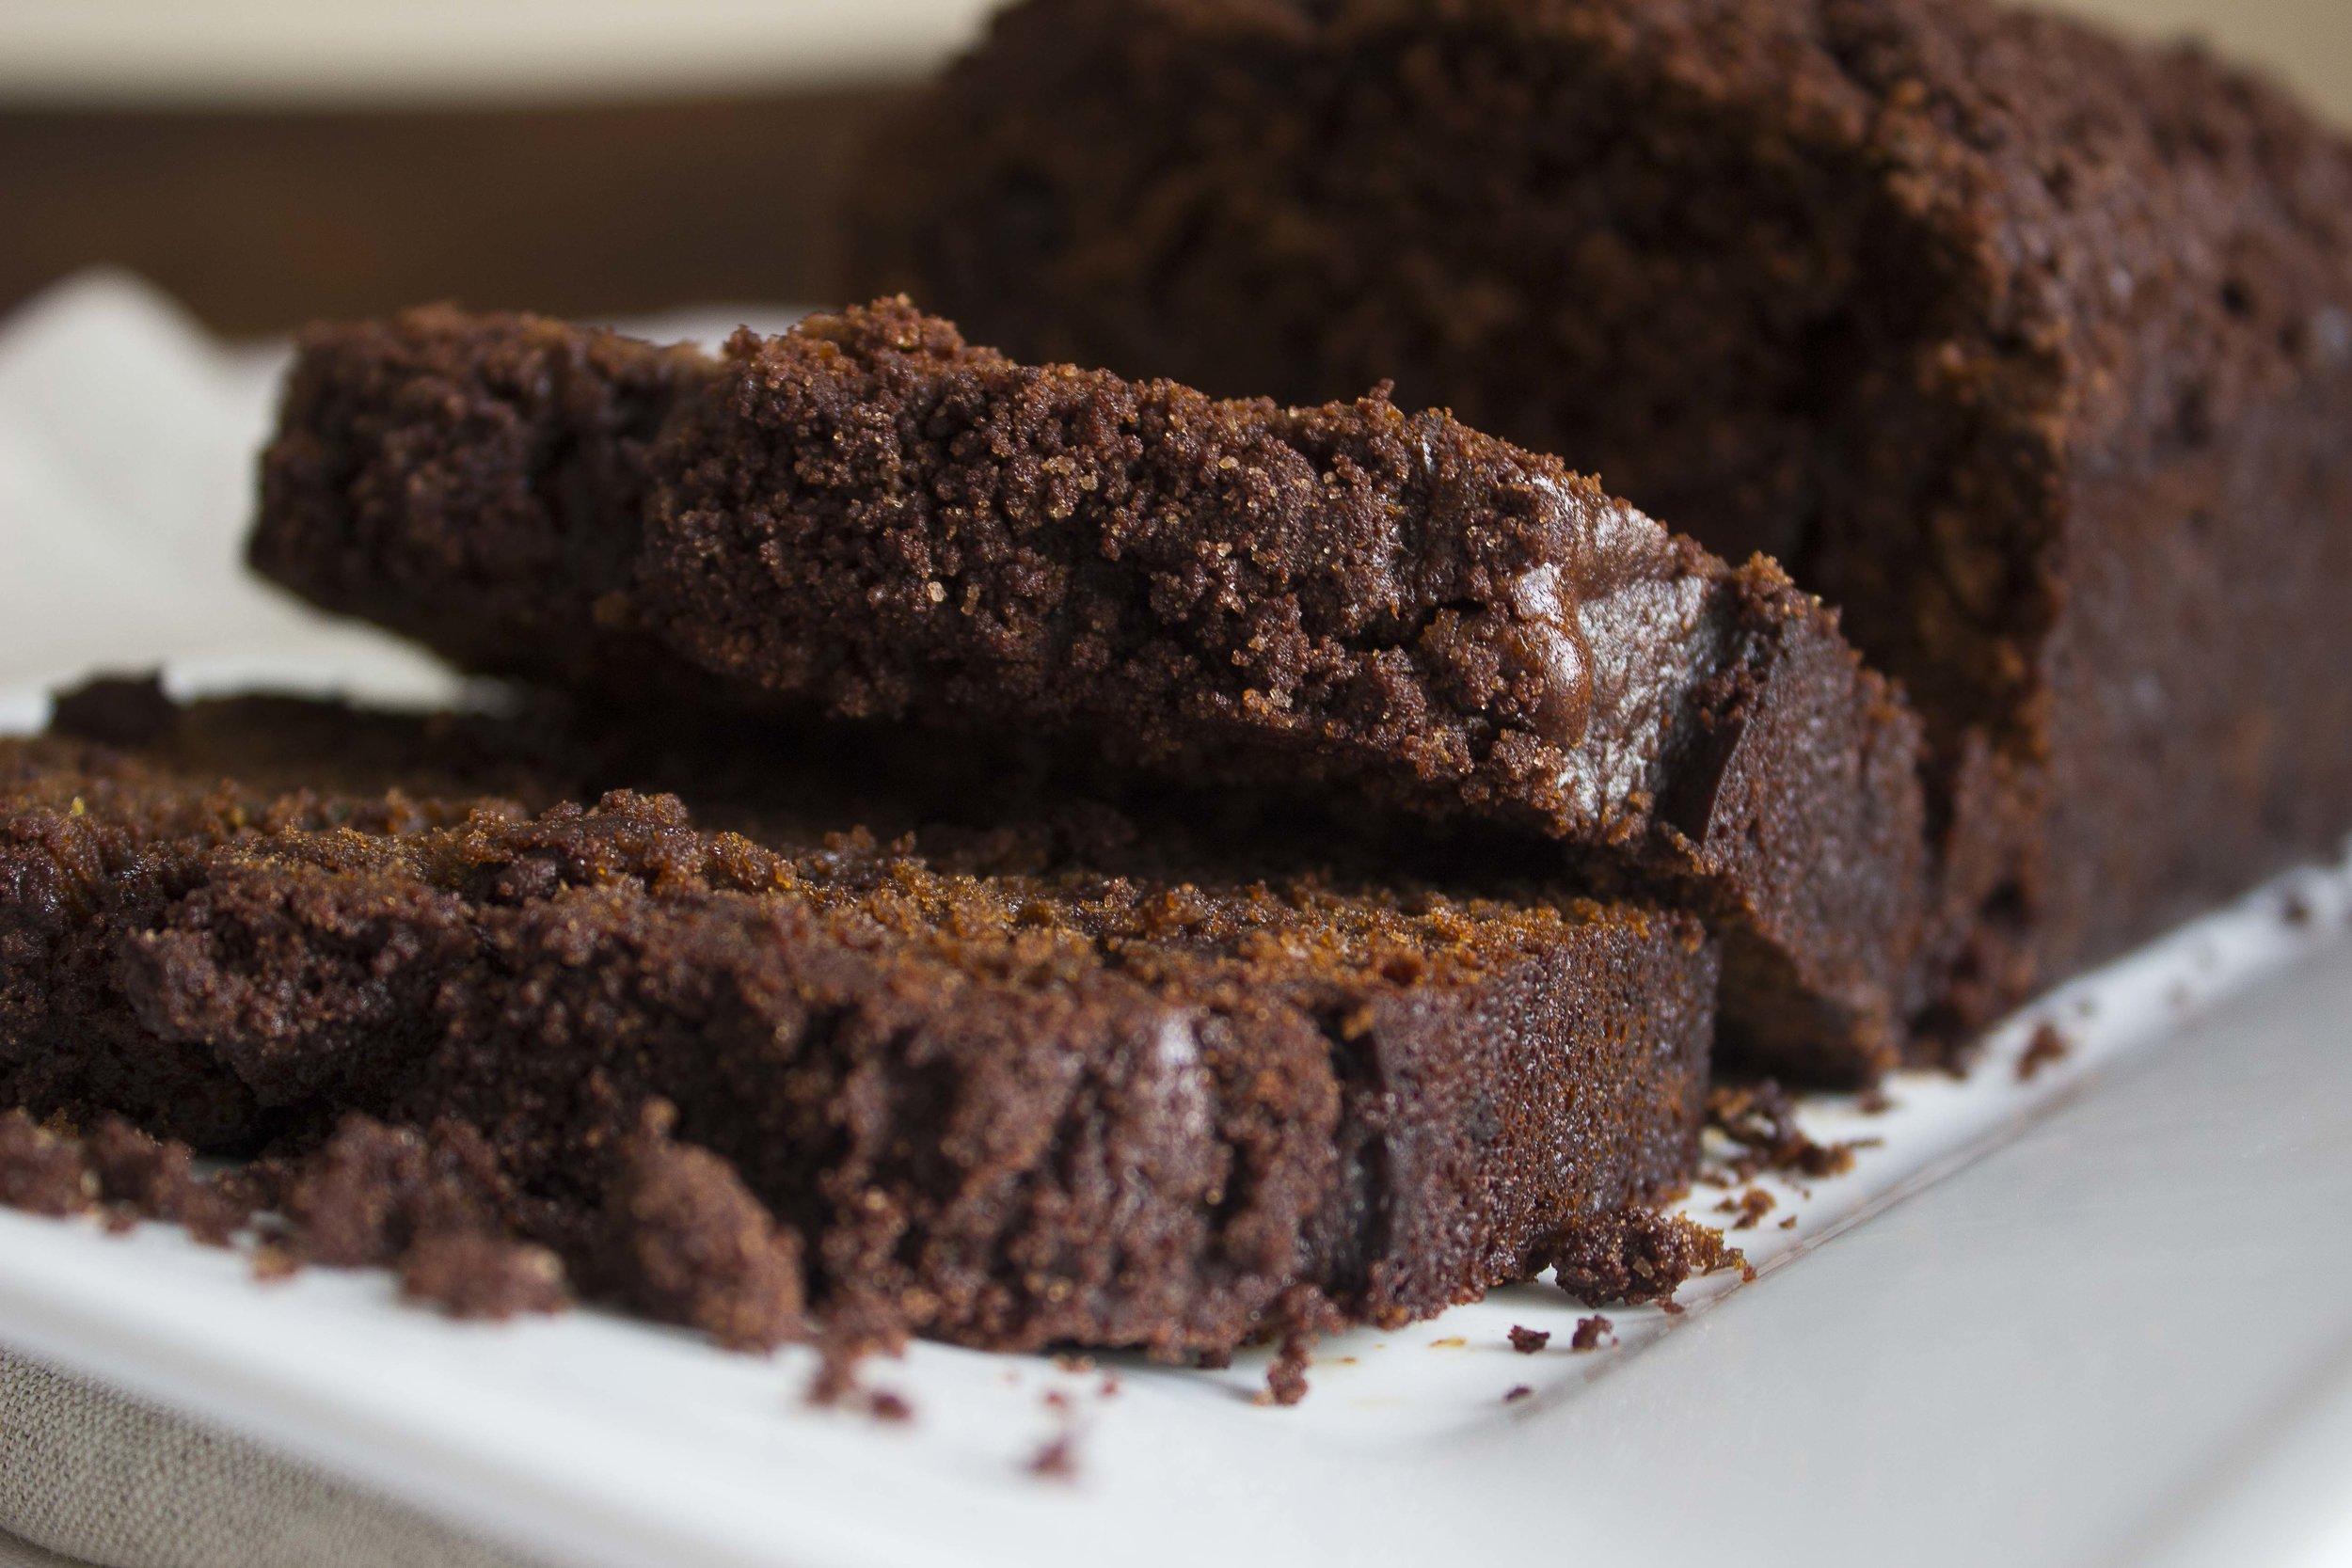
Double Chocolate Zucchini Bread | Image: Laura Messersmith
Double Chocolate Zucchini Bread (yield: 1 loaf)
Ingredients:
2 large eggs, room temperature
1/3 cup honey
1/2 cup vegetable oil
1/2 cup brown sugar, lightly packed
1 teaspoon vanilla extract
1 teaspoon kosher salt
1/2 teaspoon baking soda
1/2 teaspoon baking powder
1/2 teaspoon espresso powder
1/3 cup, plus 1 tablespoon unsweetened cocoa powder, divided
1 2/3 cups all purpose Flour
2 1/2 cups (1 large) shredded zucchini
1 cup semi-sweet chocolate chips
Streusel:
1/4 cup granulated sugar
3 tablespoons unsweetened cocoa powder
3 tablespoons unsalted butter, room temperature
1/2 teaspoon kosher salt
Instructions:
Preheat the oven to 350°F; lightly grease an 8 1/2 x 4 1/2 inch loaf pan and line with parchment paper.
In a large mixing bowl, beat together the eggs, honey, oil, sugar, and vanilla on low speed until smooth.
Place the salt, baking soda, baking powder, espresso powder, 1/3 cup of the cocoa, and flour in a fine sieve and sift into the wet mixture. Beat on low until nearly combined – some streaks of flour will remain.
Shred the zucchini on a box grater and very lightly press between paper towels before folding into the batter with a rubber spatula. Place and chocolate chips in a small bowl and toss with the remaining 1 tablespoon of cocoa powder, then fold the chips into the batter.
In the same small bowl, make the streusel by combining the sugar, cocoa powder, salt, and softened butter. Rub together between your fingers or press with the back of a spoon until a damp, crumbly mixture forms.
Sprinkle half the streusel in the bottom of the prepared loaf pan, pour in the batter, and then distribute the remaining streusel over the top.
Bake the bread for 55-65 minutes, rotating half way through the baking time, until a toothpick comes out clean (don’t be fooled by melted chocolate chips!) and the cake springs back when lightly pressed.
Allow the bread to cool in the pan for 10 to 15 minutes before turning it out onto a rack. Cool completely before slicing. Store well-wrapped, at room temperature.
Re-written and adapted from King Arthur Flour’s Double Chocolate Zucchini Bread with reference to the New York Times’s Chocolate Streusel Pound Cake by Melissa Clark.
Small Kitchen Friendly?
Yes! I used one large mixing bowl, one small mixing bowl, a fine mesh sieve (optional), a 8 1/2 x 4 1/2 inch loaf pan, dry and liquid measuring cups and spoons. A hand mixer, rubber spatula, and parchment paper.
Double Chocolate Zucchini Bread | Image: Laura Messersmith
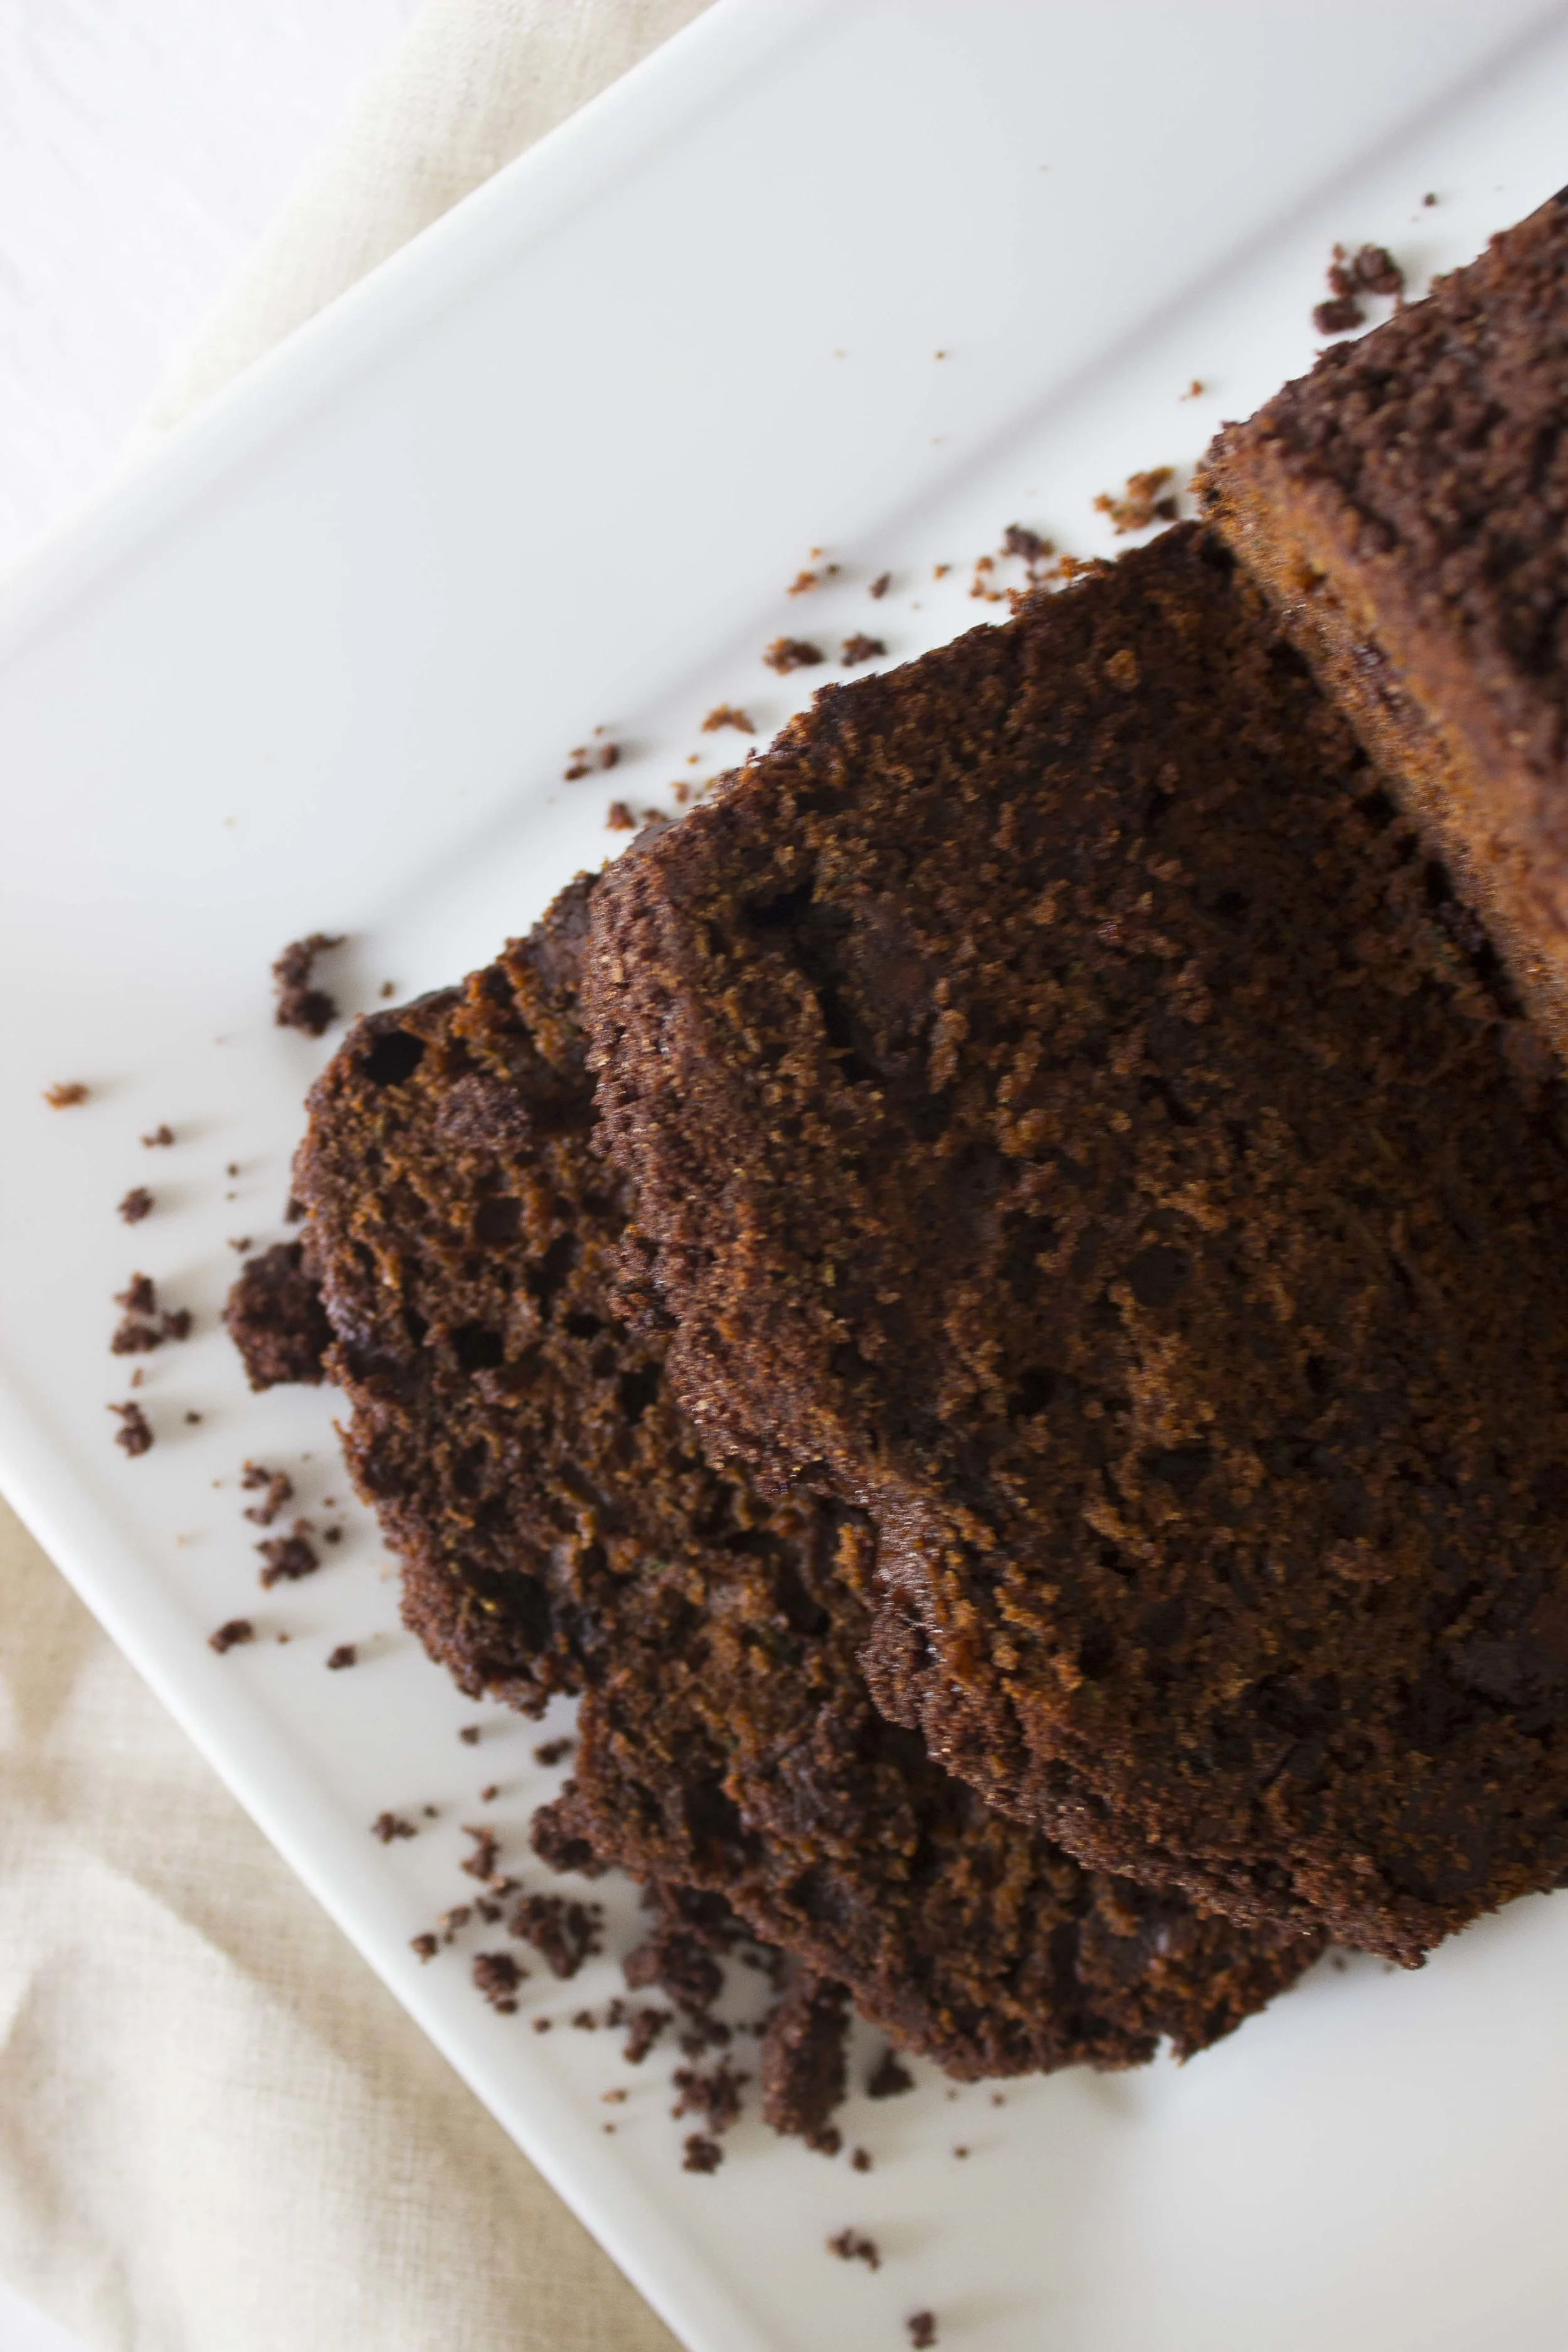
Double Chocolate Zucchini Bread | Image: Laura Messersmith