New York Black + White Cookies
New York Black and White Cookie | Image: Laura Messersmith
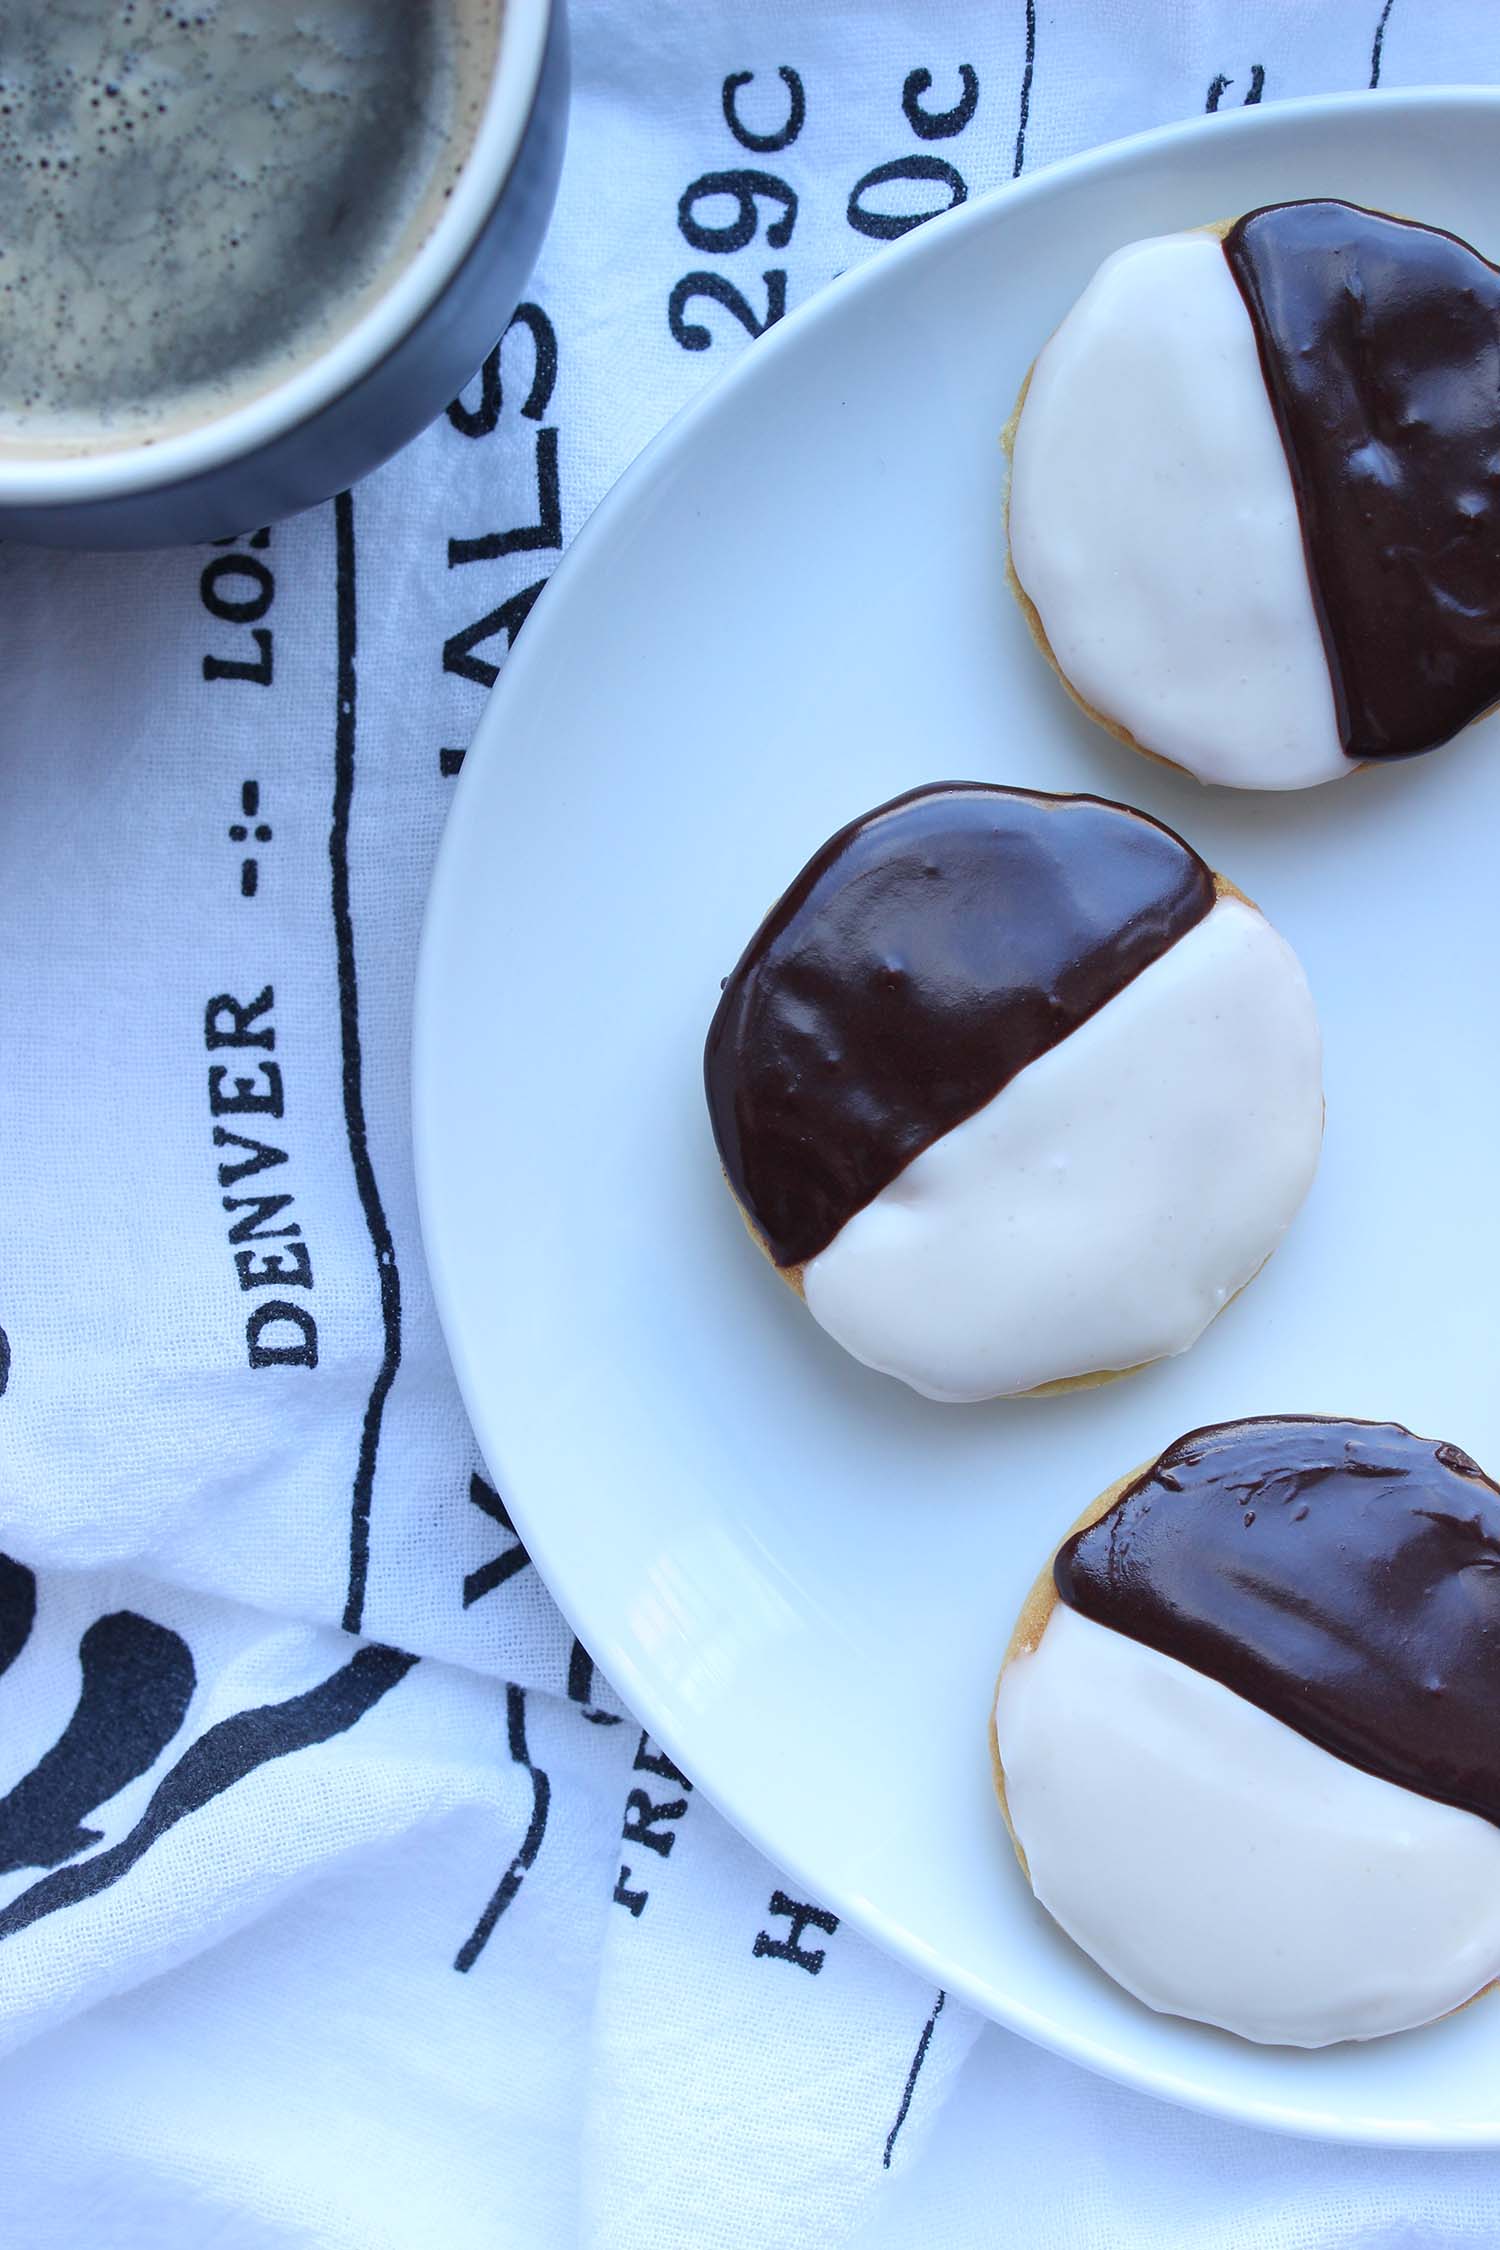
New York can lay claim to a number of iconic foods, thin crust pizza, cheesecake, bagels, and the black + white cookie. They’re found in most bodegas, grocery stores, and delis – anywhere with a bakery case, and like many things in New York, the black + white cookie requires some explanation to be fully understood and appreciated.
First, the texture is soft and fluffy like cake, not crisp or crunchy, and that’s on purpose. In my research travels I learned that this unique quality probably springs from thrifty bakers making use of leftover cake batter and turning it into an alternate product to reduce waste.
Second, there’s lots of debate over the frosting consistency, but typically it’s firm and smooth, not quite fondant and certainly thicker than icing. The type of dense, almost fudgy frosting that holds its shape once it has set and stays put even after a bite. When I see swirls or frosting that looks smoosh-able I avoid.
Third, black + whites are always frosted on the flat side. That’s right once baked, the cookies are turned bottom side up leaving the slightly curved dome underneath like the hull of a boat.
I rediscovered these cookies after a long hiatus when we moved to the city a few years ago – Upstate when I was a kid we called them “half-moon cookies” but here in the city they go by the more straightforward “black + white” – and it’s been true love ever since (both city and cookie.)

New York Black and White Cookie | Image: Laura Messersmith
Three-Bite NYC Black + White Cookies (yield: 2 dozen cookies)
Cookie Ingredients:
1 1/4 cups all-purpose flour
1/2 teaspoon baking soda
1/2 teaspoon salt
6 tablespoons unsalted butter, room temperature
1/2 cup granulated sugar
1 1/4 teaspoons vanilla extract
1 large egg, at room temperature
1/3 cup buttermilk, at room temperature
Vanilla Icing Ingredients:
1 1/2 cups confectioner's sugar, sifted
1 tablespoon light corn syrup
1 teaspoon vanilla extract
5 teaspoons water
1/8 teaspoon salt
Chocolate Icing Ingredients:
1 1/2 cups confectioner's sugar, sifted
6 tablespoons cocoa powder, sifted
1/2 teaspoon instant espresso powder
4 teaspoons light corn syrup
3 tablespoons water
1 teaspoon vanilla extract
1/4 teaspoon salt
Instructions:
Preheat oven to 350 degrees F. Line two rimmed baking sheets with parchment paper and set aside.
In a small bowl, whisk the flour, baking soda, and salt together.
In a medium mixing bowl, beat the room temperature butter and sugar until creamy with a hand mixer. Add in the vanilla extract and egg and mix until well combined. Scrape down the bowl.
Add a third of the flour mixture at a time alternating with the buttermilk. Mix on low speed until just combined. The batter will be thick, fluffy, and pale yellow.
Use a cookie scoop or pastry bag to portion the cookies spacing them 1 inch apart on the prepared baking sheets.
Note on Portion: The cookies spread a bit and puff up. A 1 tablespoon portion of batter will yield a cookie about 1.5 inches in diameter.
Bake the cookies at 350 degrees F. for 6 to 8 minutes, or until the tops spring back when pressed gently and the cookies are a light golden brown around the edges. Cool completely before icing.
While the cookies are cooling, prepare the vanilla icing by whisking the confectioner’s sugar, corn syrup, water, vanilla, and salt together until very smooth. Do the same in a separate bowl for the chocolate icing, whisking together the confectioner’s sugar, cocoa, espresso powder, corn syrup, water, vanilla extract, salt.
The icing should be thin enough that it is easily spreadable, but not runny. If it seems dry, add water 1/2 teaspoon at a time; if it’s too thin, add confectioner’s sugar 1 tablespoon at a time.
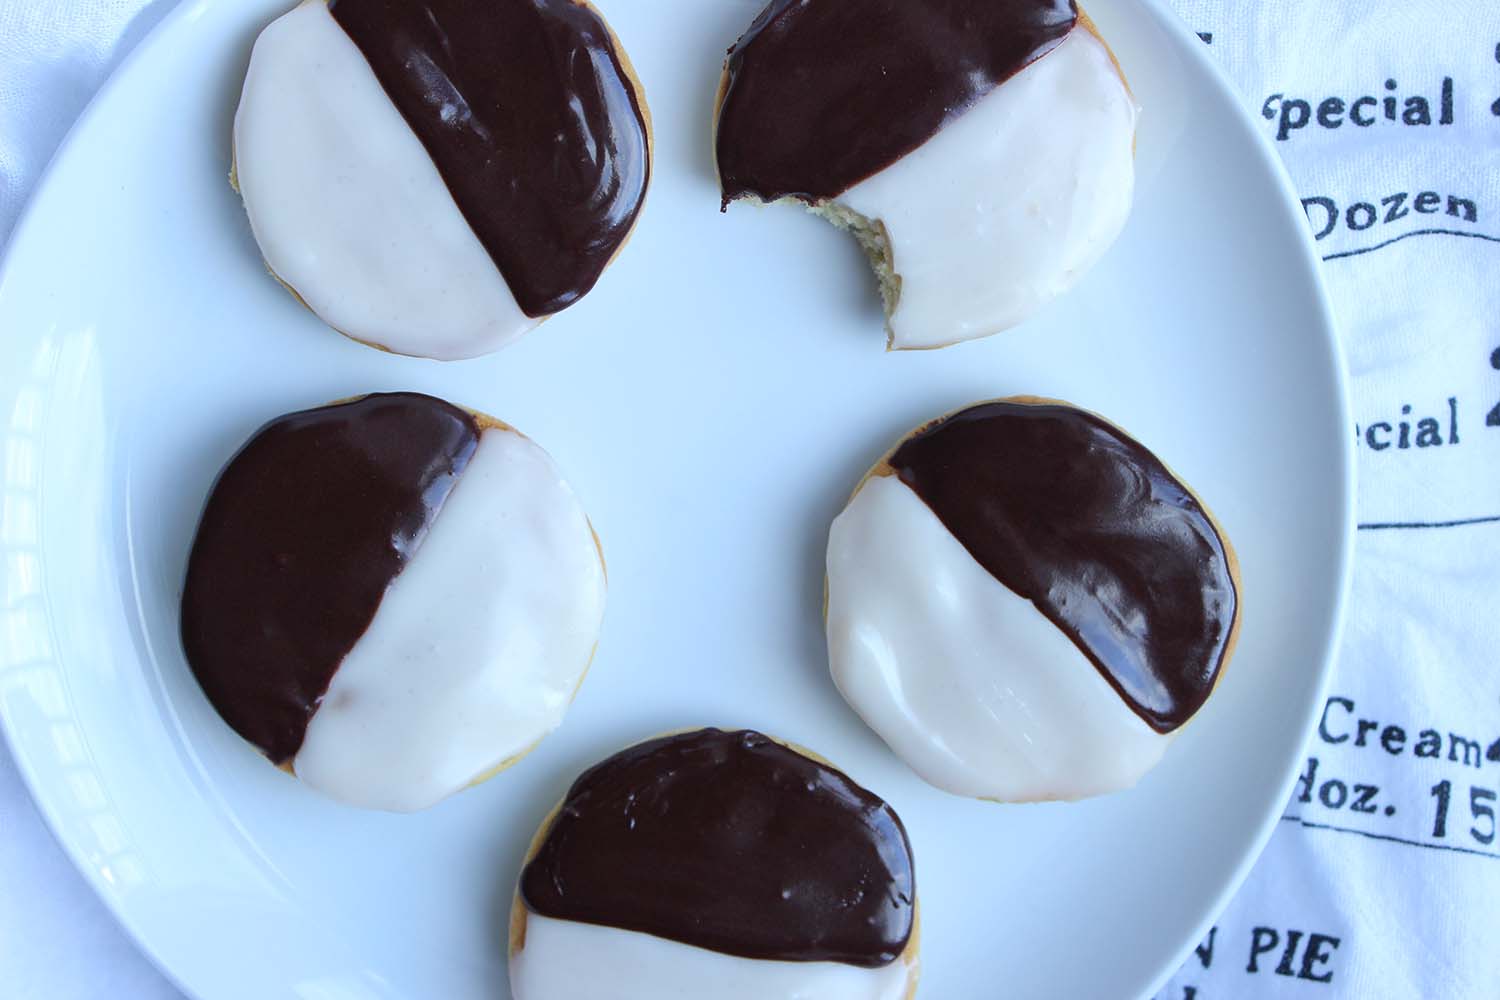
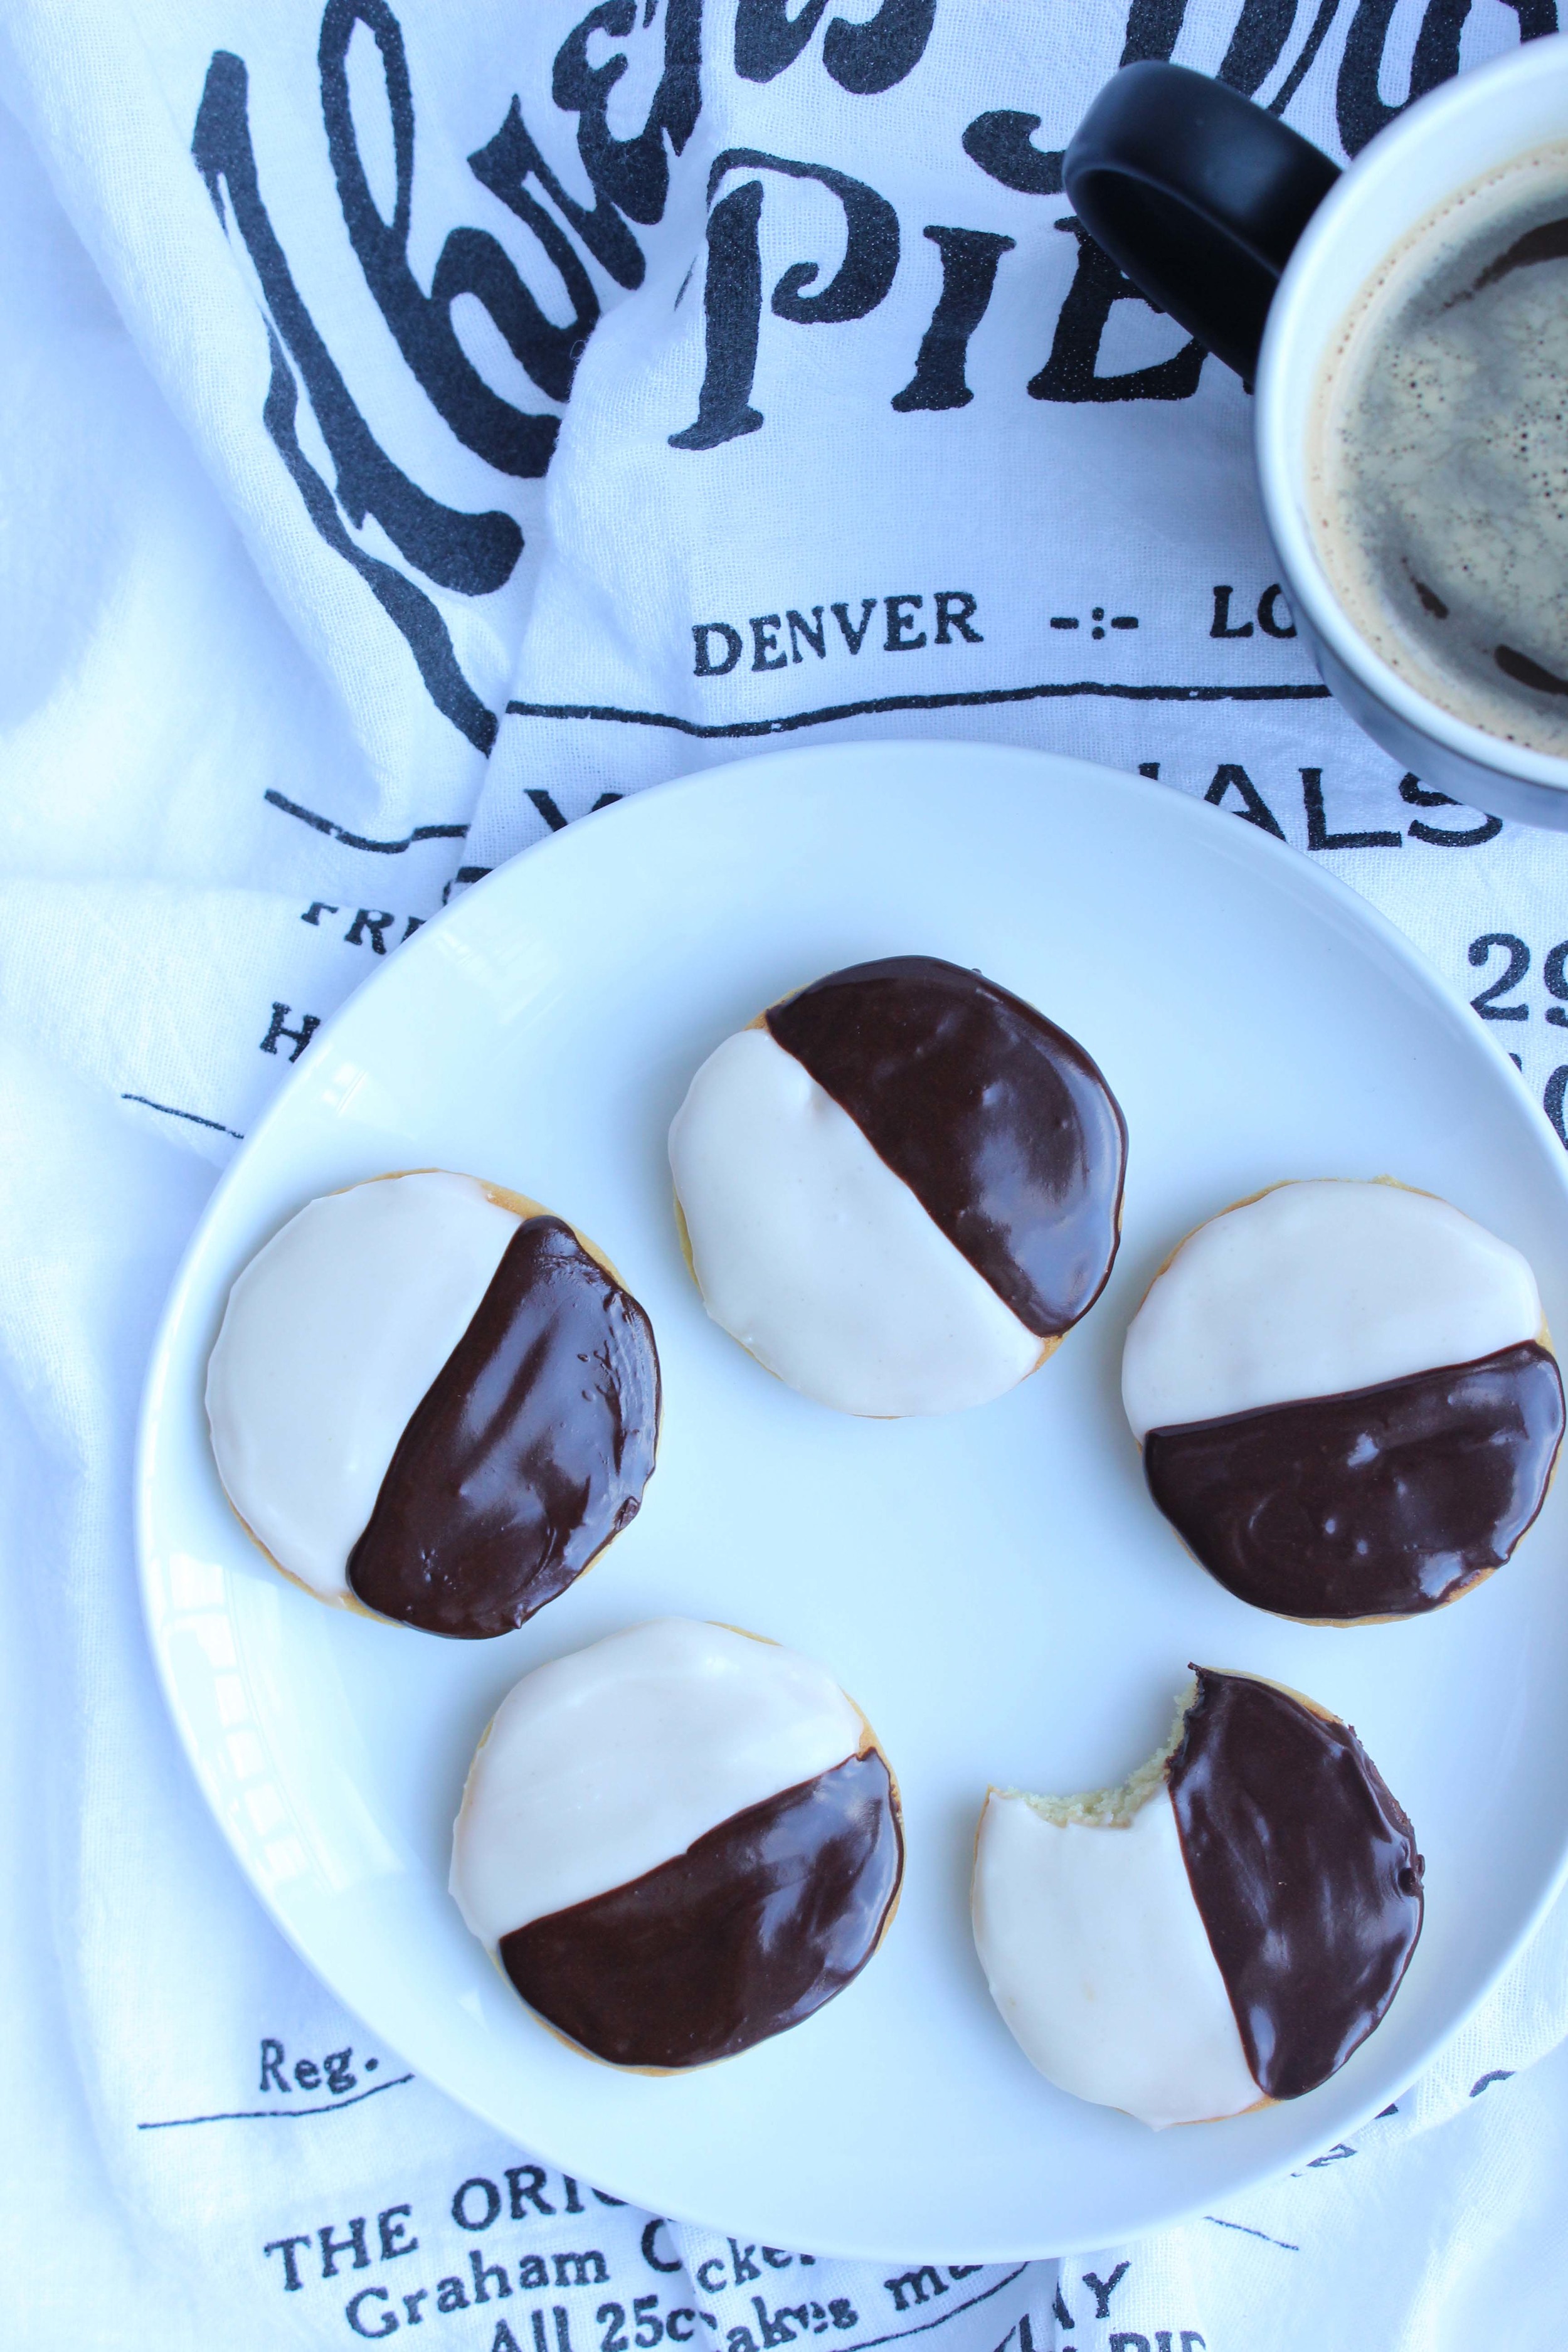
Flip the cooled cookies so their flat sides are up. Use an offset spatula or piping bag to spread vanilla icing on half of the cookies, allow the icing set for a few minutes, then spread chocolate icing on the other half.
Store the cookies in an airtight container between sheets of parchment paper at room temperature for up to two days.
Re-written and lightly adapted from Yossy Arefi’s Mini Black & White Cookies via Food52.
New York Black and White Cookie | Image: Laura Messersmith
Small Kitchen Friendly?
Yes, for a frosted cookie they’re relatively low-maintenance. I used a medium mixing bowl, small mixing bowl, electric hand mixer, two rimmed baking sheets, measuring cups and spoons as well as a rubber spatula, cookie scoop, offset spatula, and wire whisk.
The Verdict:
I made these for a friend and was delighted to learn that they’re her favorite cookie and were served at her wedding. They received G’s stamp of approval, which is high praise. This particular recipe is my ideal, made from simple, easily sourced ingredients. Deep, dark bittersweet chocolate married to sweet vanilla frosting on top of a cloud-like cake. Sublime and an excellent recipe to keep for the days when a black + white might not be a trip to the corner away.
New York Black and White Cookie | Image: Laura Messersmith