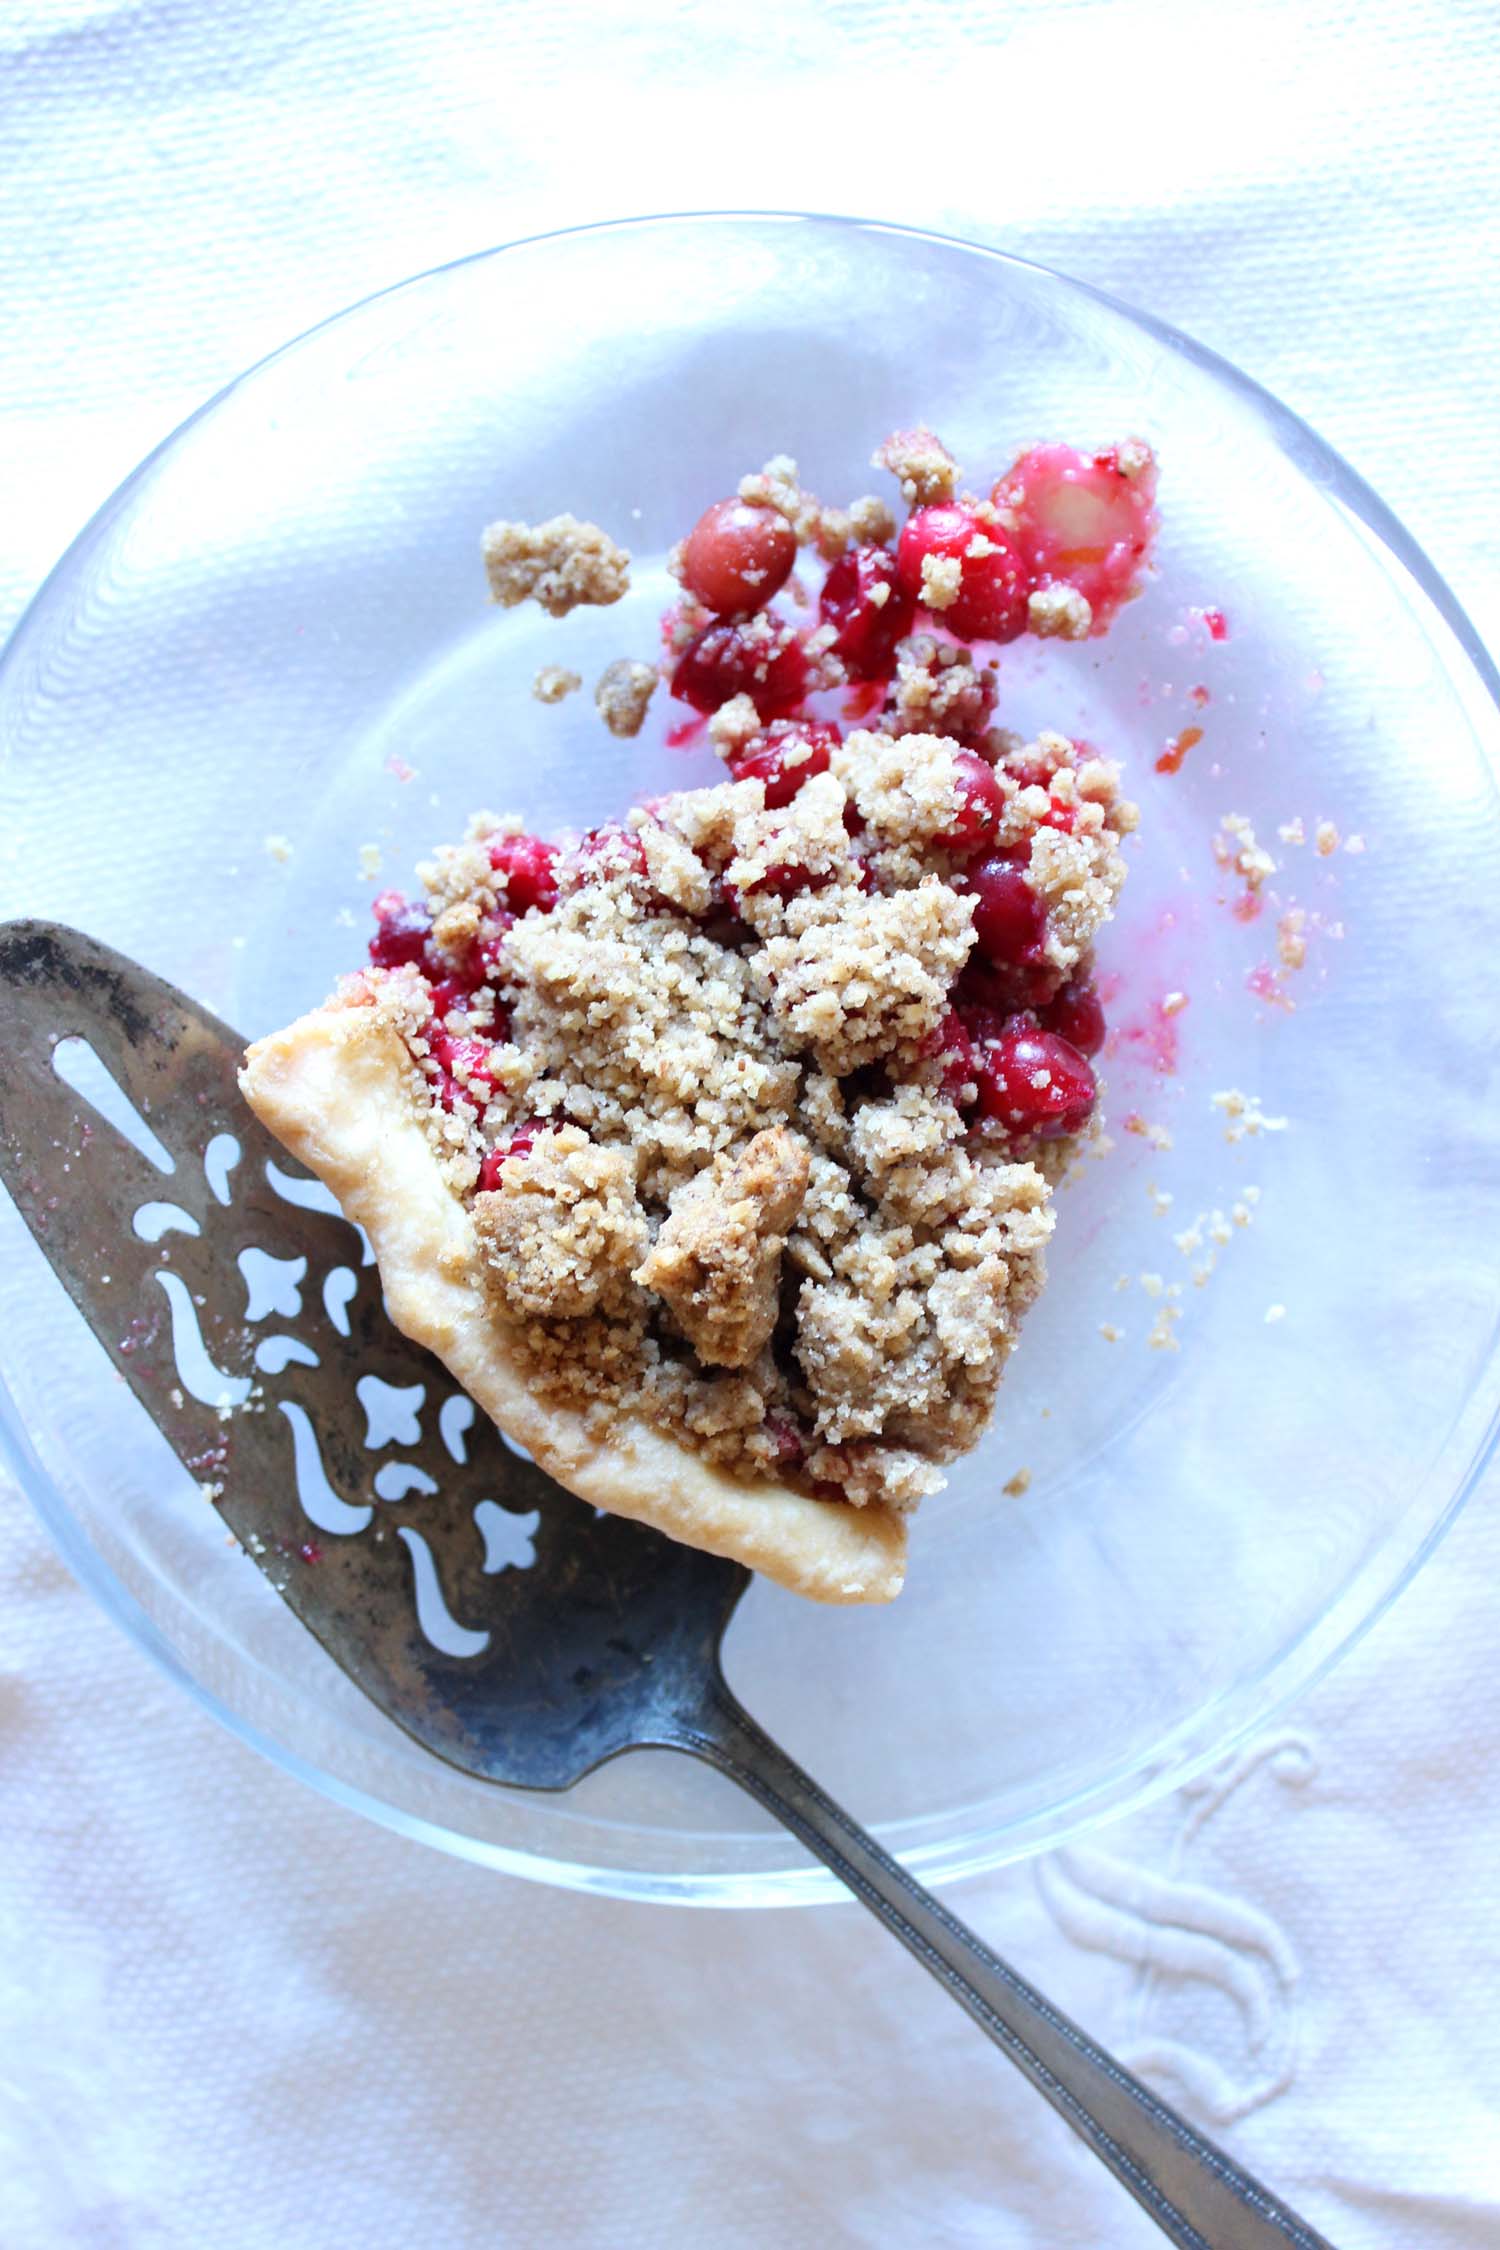
Black Bottom Oatmeal Pie

Black Bottom Oatmeal Pie | Image: Laura Messersmith
The pie adventures of 2015 have continued into 2016 helped along by one of my favorite Christmas gifts: a copy of The Four & Twenty Blackbirds Pie Book by Emily Elsen and Melissa Elsen. The book springs from the sisters’ experiences growing up and working in their family’s restaurant back in Hecla, South Dakota and later opening an independent pie shop in Gowanus, Brooklyn named (you guessed it) Four & Twenty Blackbirds.
Mention pie or dessert to any sweets lover in the Greater New York area and the conversation will inevitably turn to this gem of a shop and their dedication to all things contained in a crust. What I love most about the book are the “uncommon” fillings they’ve developed – we’ve all had apple pie and strawberry rhubarb (classics and standbys for a reason – they’re awesome) – but when was the last time you tasted something called Salty Honey Pie, Grapefruit Custard Pie, or in this case Black Bottom Oatmeal Pie?
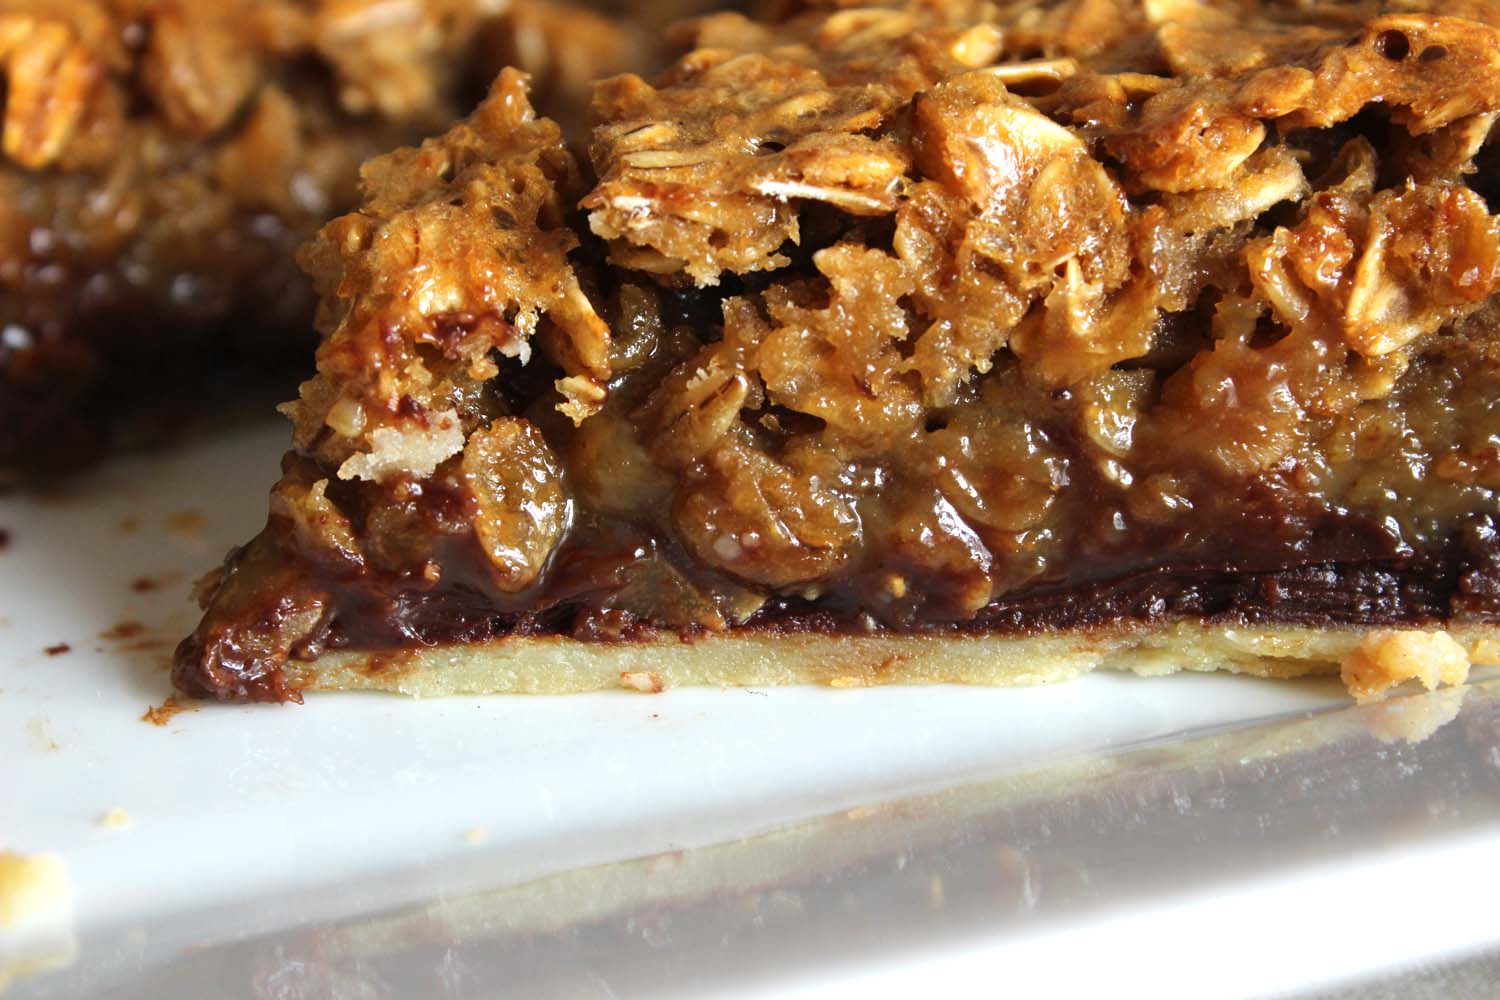
It’s a humble name for a concoction that layers all the best things about a chewy oatmeal cookie and the caramel sweetness of pecan pie in a buttery, flaky crust. And that’s before you even get to the “black bottom” part, a foundation of deep, dark chocolate ganache. Let’s pause for a moment and revel in the glory.
Please make this pie for your favorite chocolate loving people – they will forever be your biggest fans.
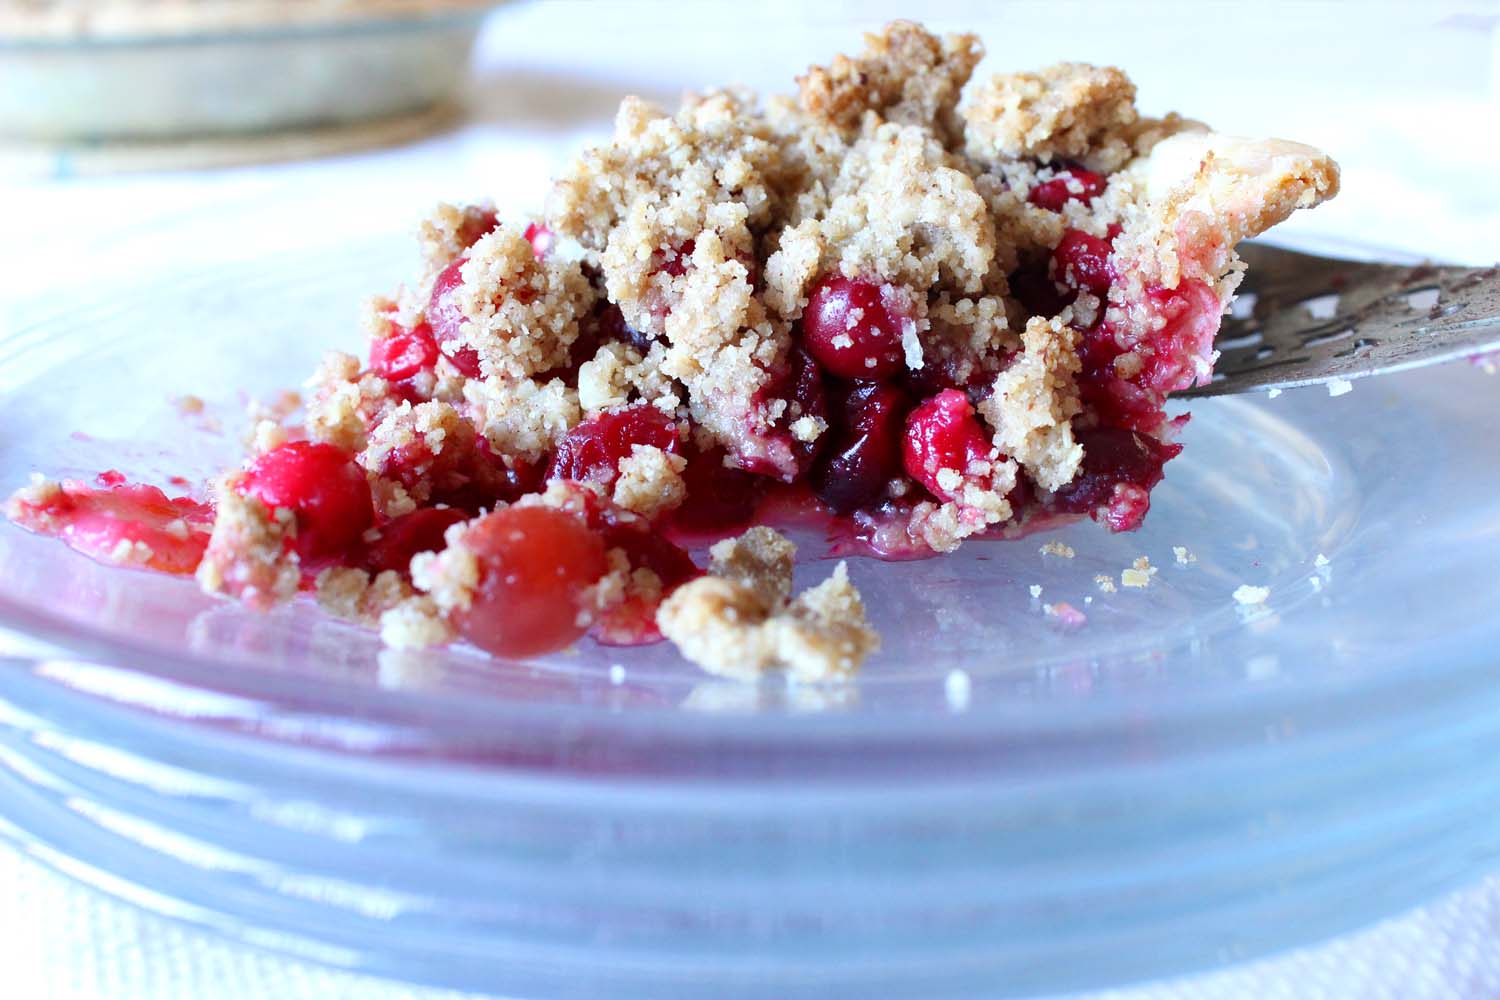
Black Bottom Oatmeal Pie | Image: Laura Messersmith
Black Bottom Oatmeal Pie (serves 8-10)
Ingredients:
1 recipe All Buttah Pie Dough, par baked (recipe below)
1 1/2 cups rolled oats
1/4 cup heavy cream
4 ounces bittersweet chocolate roughly chopped
3/4 cup packed light brown sugar
1/4 teaspoon ground ginger
1/2 teaspoon kosher salt
5 tablespoons unsalted butter, melted
1 cup dark corn syrup
1 teaspoon vanilla extract
2 teaspoons cider vinegar
4 large eggs, room temperature
Instructions:
Position a rack in the center of the oven and pre-heat the oven to 350 degrees F.
Spread the oatmeal evenly on a rimmed baking sheet and toast in the oven for 10 to 12 minutes, stirring occasionally. Set aside to cool.
Reduce the oven temperature to 325 degrees F.
While the oatmeal is toasting, partially fill a medium sauce pan with water and place a heat proof bowl on top. The bowl should not touch the water. Bring the water to a boil, then place the chopped chocolate in the bowl and melt, stirring ocassionally. Once the chocolate is entirely melted, whisk in the heavy cream until the cream is incorporated and the mixture is smooth.
Use a rubber spatula to transfer the chocolate ganache into the cooled pie shell and spread evenly over the bottom. Place the shell in the freezer to set the ganache while making the filling.
In a large bowl, whisk together the brown sugar, ginger, salt, and melted butter. Add the corn syrup, vanilla, and cider vinegar and whisk to combine. Add the eggs one at a time, blending well after each addition. Stir in the cooled oats.
Pour the oat mixture over the top of the ganache layer. If the pie looks like it might over flow, then place on a rimmed baking sheet.
Bake on the middle rack of the oven for 55-60 minutes; halfway through the baking time rotate the pie 180 degrees to ensure even baking. The pie is finished when the edges are set and puffed slightly and the center is slightly firm to the touch but still has some give (like gelatin). Allow to cool completely on a wire rack, 2 to 3 hours. Serve slightly warm or at room temperature. The pie will keep refrigerated for 3 days or at room temperature for 2 days.
Re-written from Four and Twenty Blackbirds Pie Book Black Bottom Oatmeal Pie by Emily Elsen and Melissa Elsen (pg. 176)
All Buttah Pie Dough (yield: one 9 inch crust)
Ingredients:
1 1/4 cups all purpose flour, sifted
1/4 teaspoon kosher salt
8 tablespoons very cold butter, cut into 1/2-inch cubes
1/4 cup ice water, or more as needed
Instructions:
In a large bowl, stir together the flour and salt to combine. Add the diced cold butter, tossing the cubes in the flour to coat. With your fingers, rub the butter into the flour until it is the size of walnut halves (for a flaky crust) or peas (for a mealy crust).
Make a well in the center of the flour/butter mixture and add the water a few tablespoons at a time and mix with your fingers or a fork just until the dough comes together.
Gather the dough into a flat, round disc; wrap in plastic and chill well, at least 1 hour, before rolling.
Next, on a lightly floured surface, roll out the pie dough into a round crust approximately 9 ½ - 10 inches in diameter. Do your best to ensure the crust is an even thickness and a fairly regular circle in shape.
Set the crust into a 9 inch pie plate and press firmly against the sides making sure that the dough follows the shape of the dish closely. Trim the overhanging edges as needed leaving a ½ inch border. Fold the border underneath and crimp the edge, or press down onto the rim of the pie plate with a fork. Chill the un-baked crust for 30 minutes.
While the crust chills, pre-heat the oven to 425 degrees F.
The crust will be both blind and partially baked (aka par-baked) before filling. Prick the bottom and sides of the chilled crust a few times with a fork. Then, line the crust with a sheet of parchment paper or butter a piece of foil and set the buttered side against the crust. Fill the parchment paper with enough pie weights, dried beans, or uncooked rice to reach up the sides. These two steps prevent the crust from puffing up and leave a smooth crust to hold the filling.
Place the crust in the pre-heated oven and bake for 15-20 minutes. The crust will look pale and just barely baked, don’t worry it will finish baking when the filling is added. Allow the pie to cool for 5-10 minutes, then remove the pie weights and parchment paper. Fully cool the crust before filling.
Re-written from Erin McDowell’s All Buttah Pie Dough and par-baking instructions.

Black Bottom Oatmeal Pie | Image: Laura Messersmith
Small Kitchen Friendly?
Yes and no. With organization and washing of items between steps (there’s plenty of time with all the dough resting and ganache chilling) it can be done. To make the entire recipe – dough and filling I needed… 1 medium heat-proof mixing bowl, a large sauce pan, a 9 inch glass pie plate, one rimmed baking sheet, a medium cutting board, a chef’s knife, a rubber spatula, wire whisk, measuring cups (liquid and dry), and a rolling pin. Pie weights (or dried beans/uncooked rice) and parchment paper are also key for success.
The Verdict:
I don’t know how to fully convey the deliciousness in this seemingly simple pie. It’s incredible and if you can manage to share even a slice I think you could easily be considered for sainthood. It is rich and fairly sweet – although the cider vinegar and bittersweet chocolate do help keep an even keel – but just perfect for wintery days when the promise of summer fruit seems far off. I also love that since most everything is from the pantry it has a casual, no-frills vibe and it means that pie is a possibility without much warning. Always a good thing in my book.
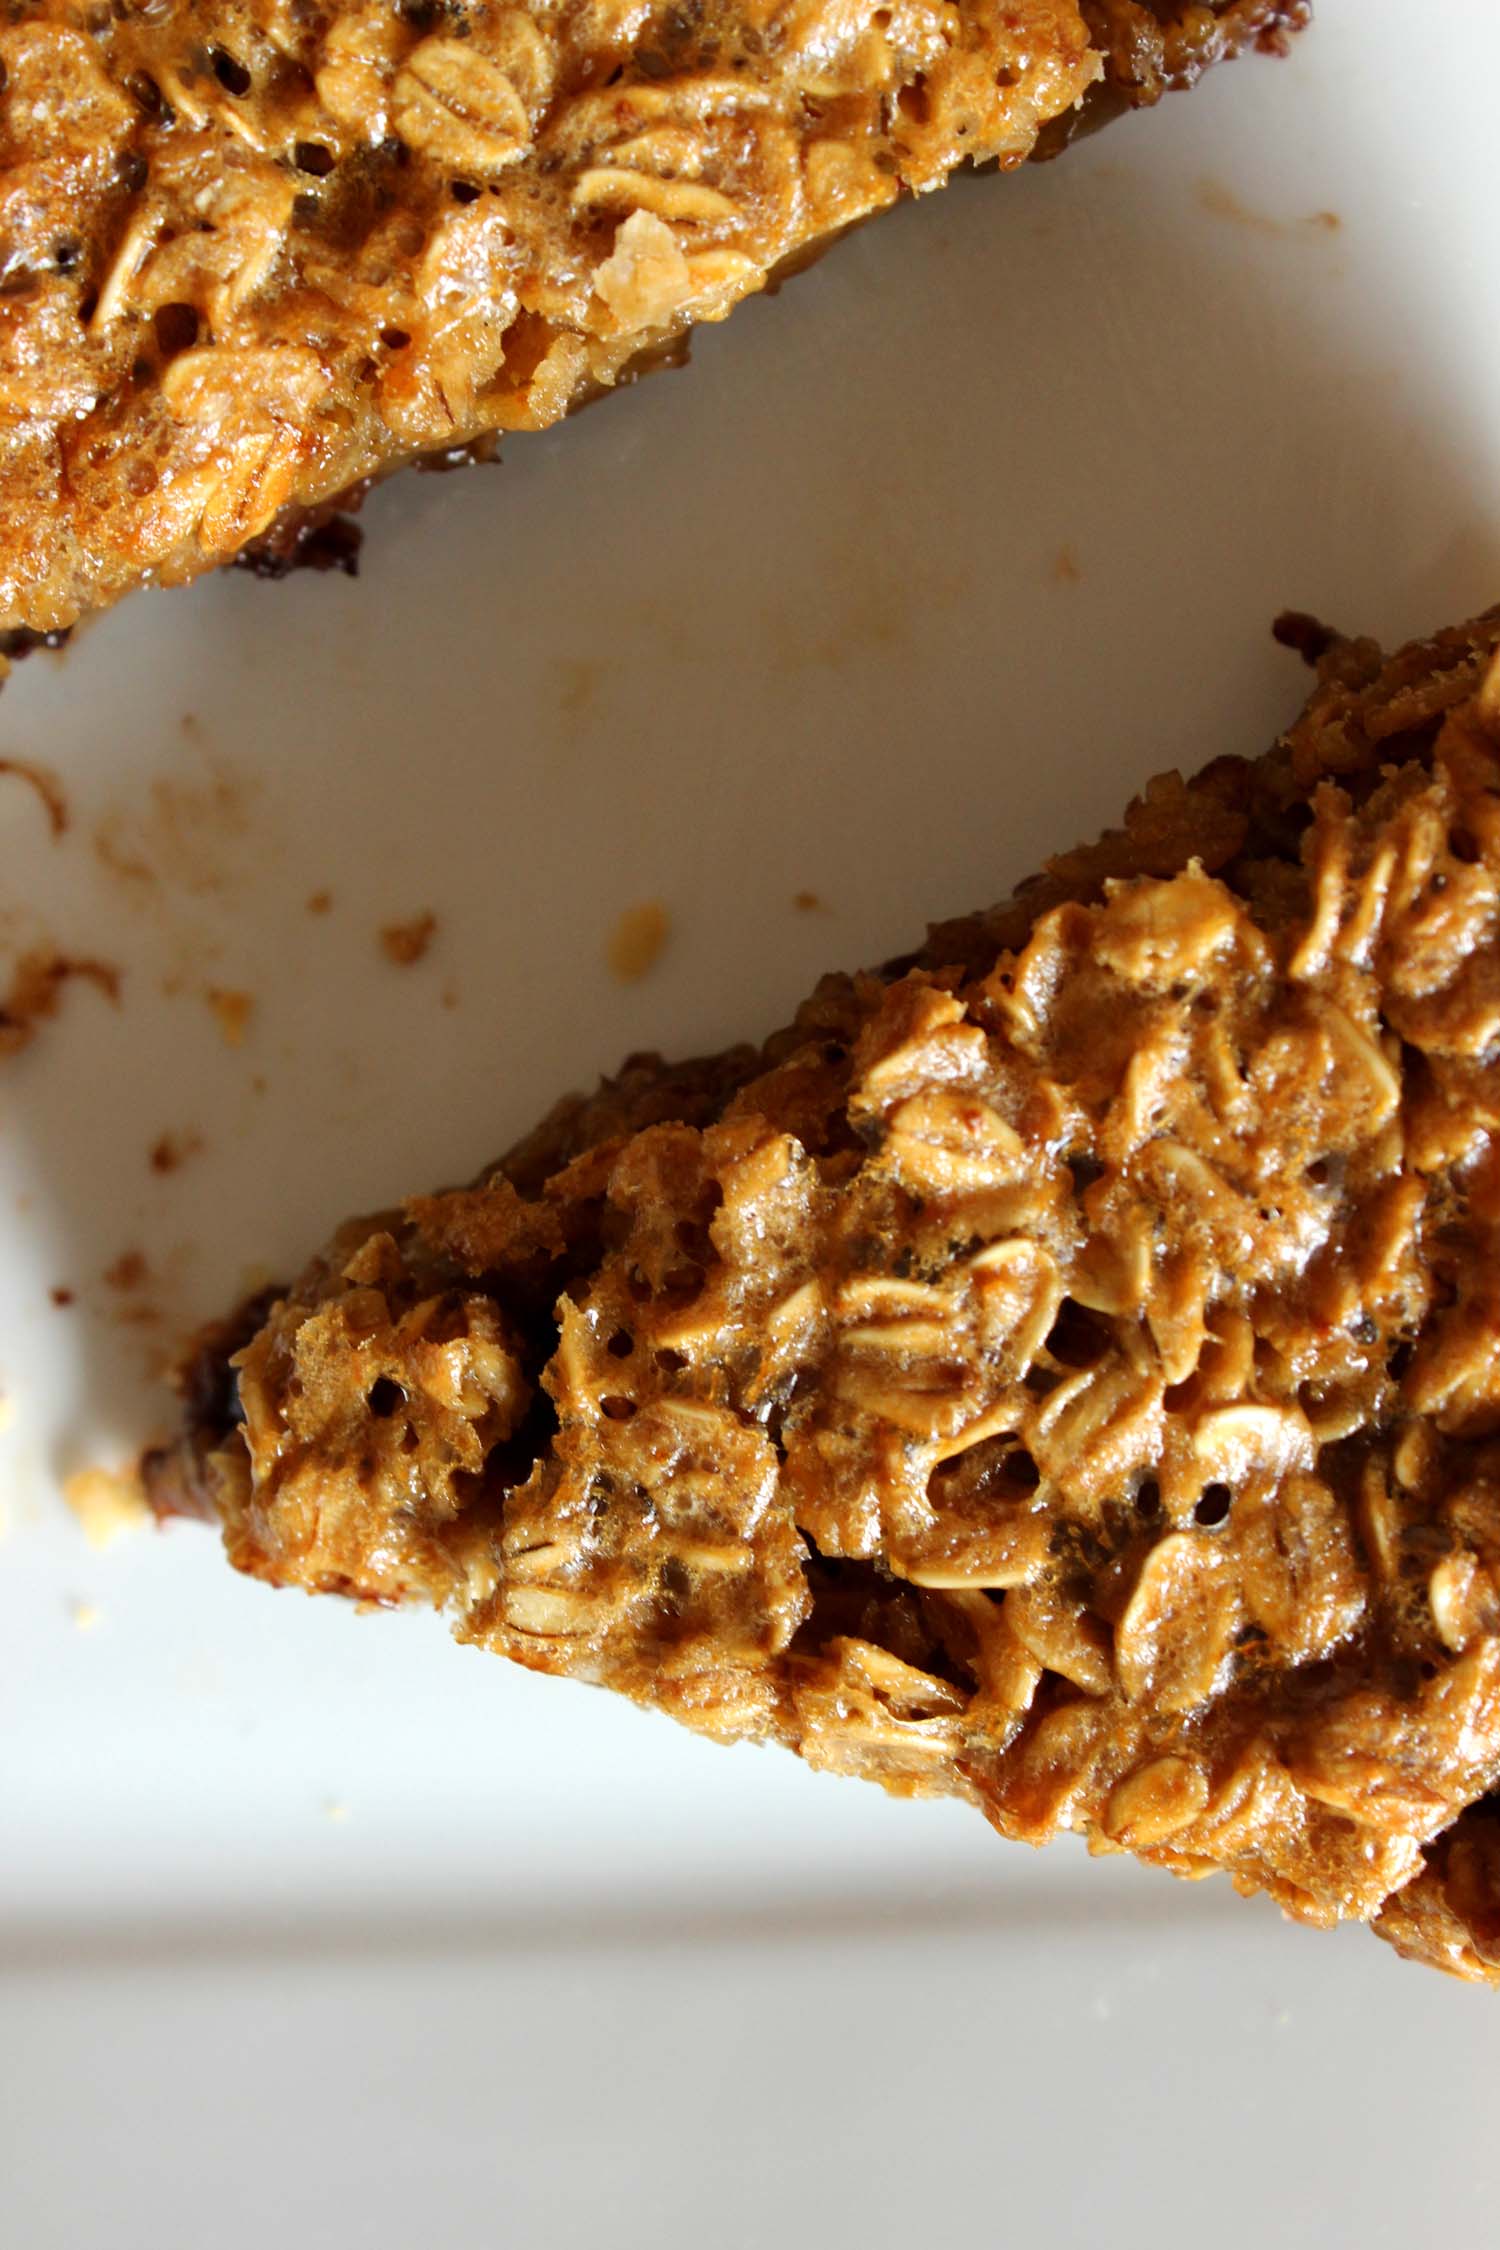
Black Bottom Oatmeal Pie | Image: Laura Messersmith